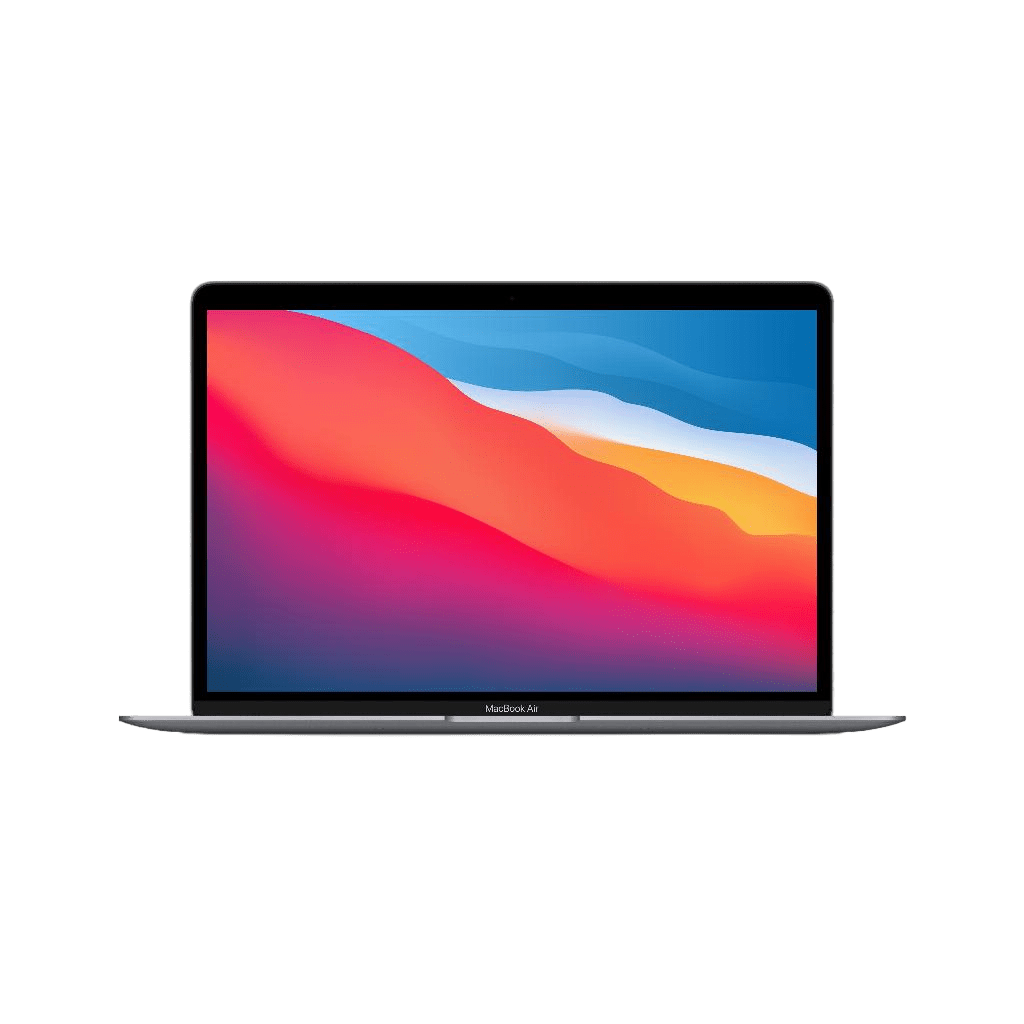
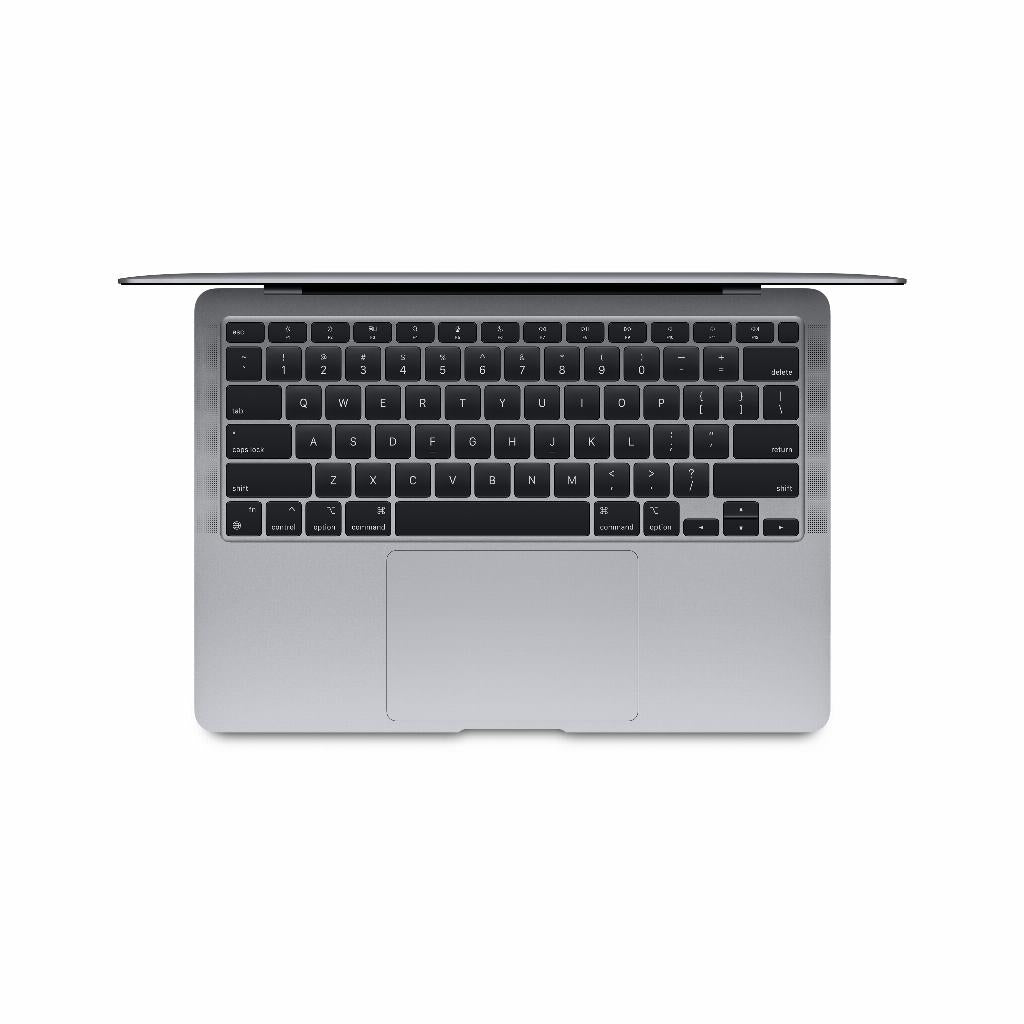
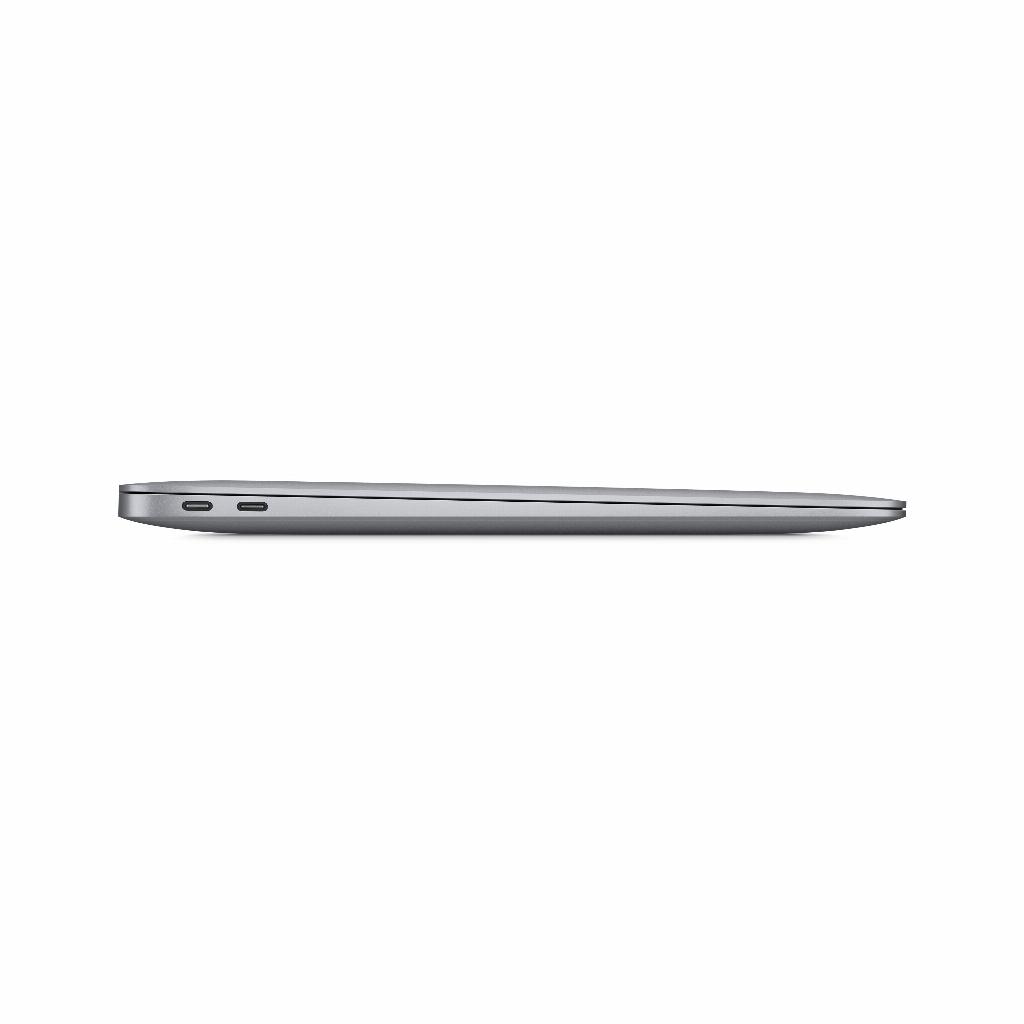
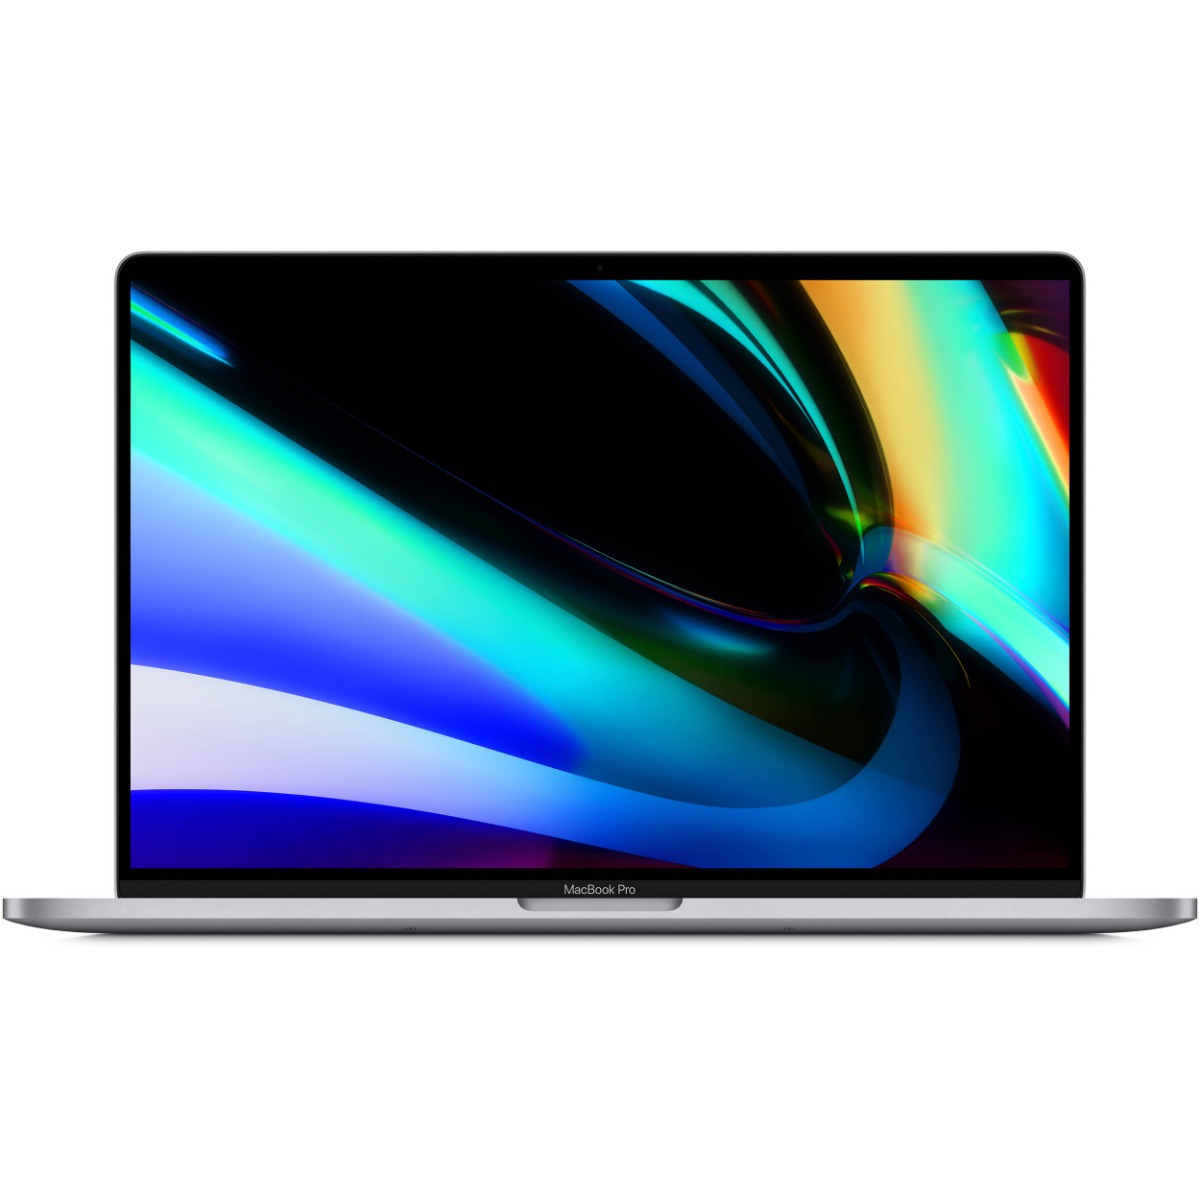
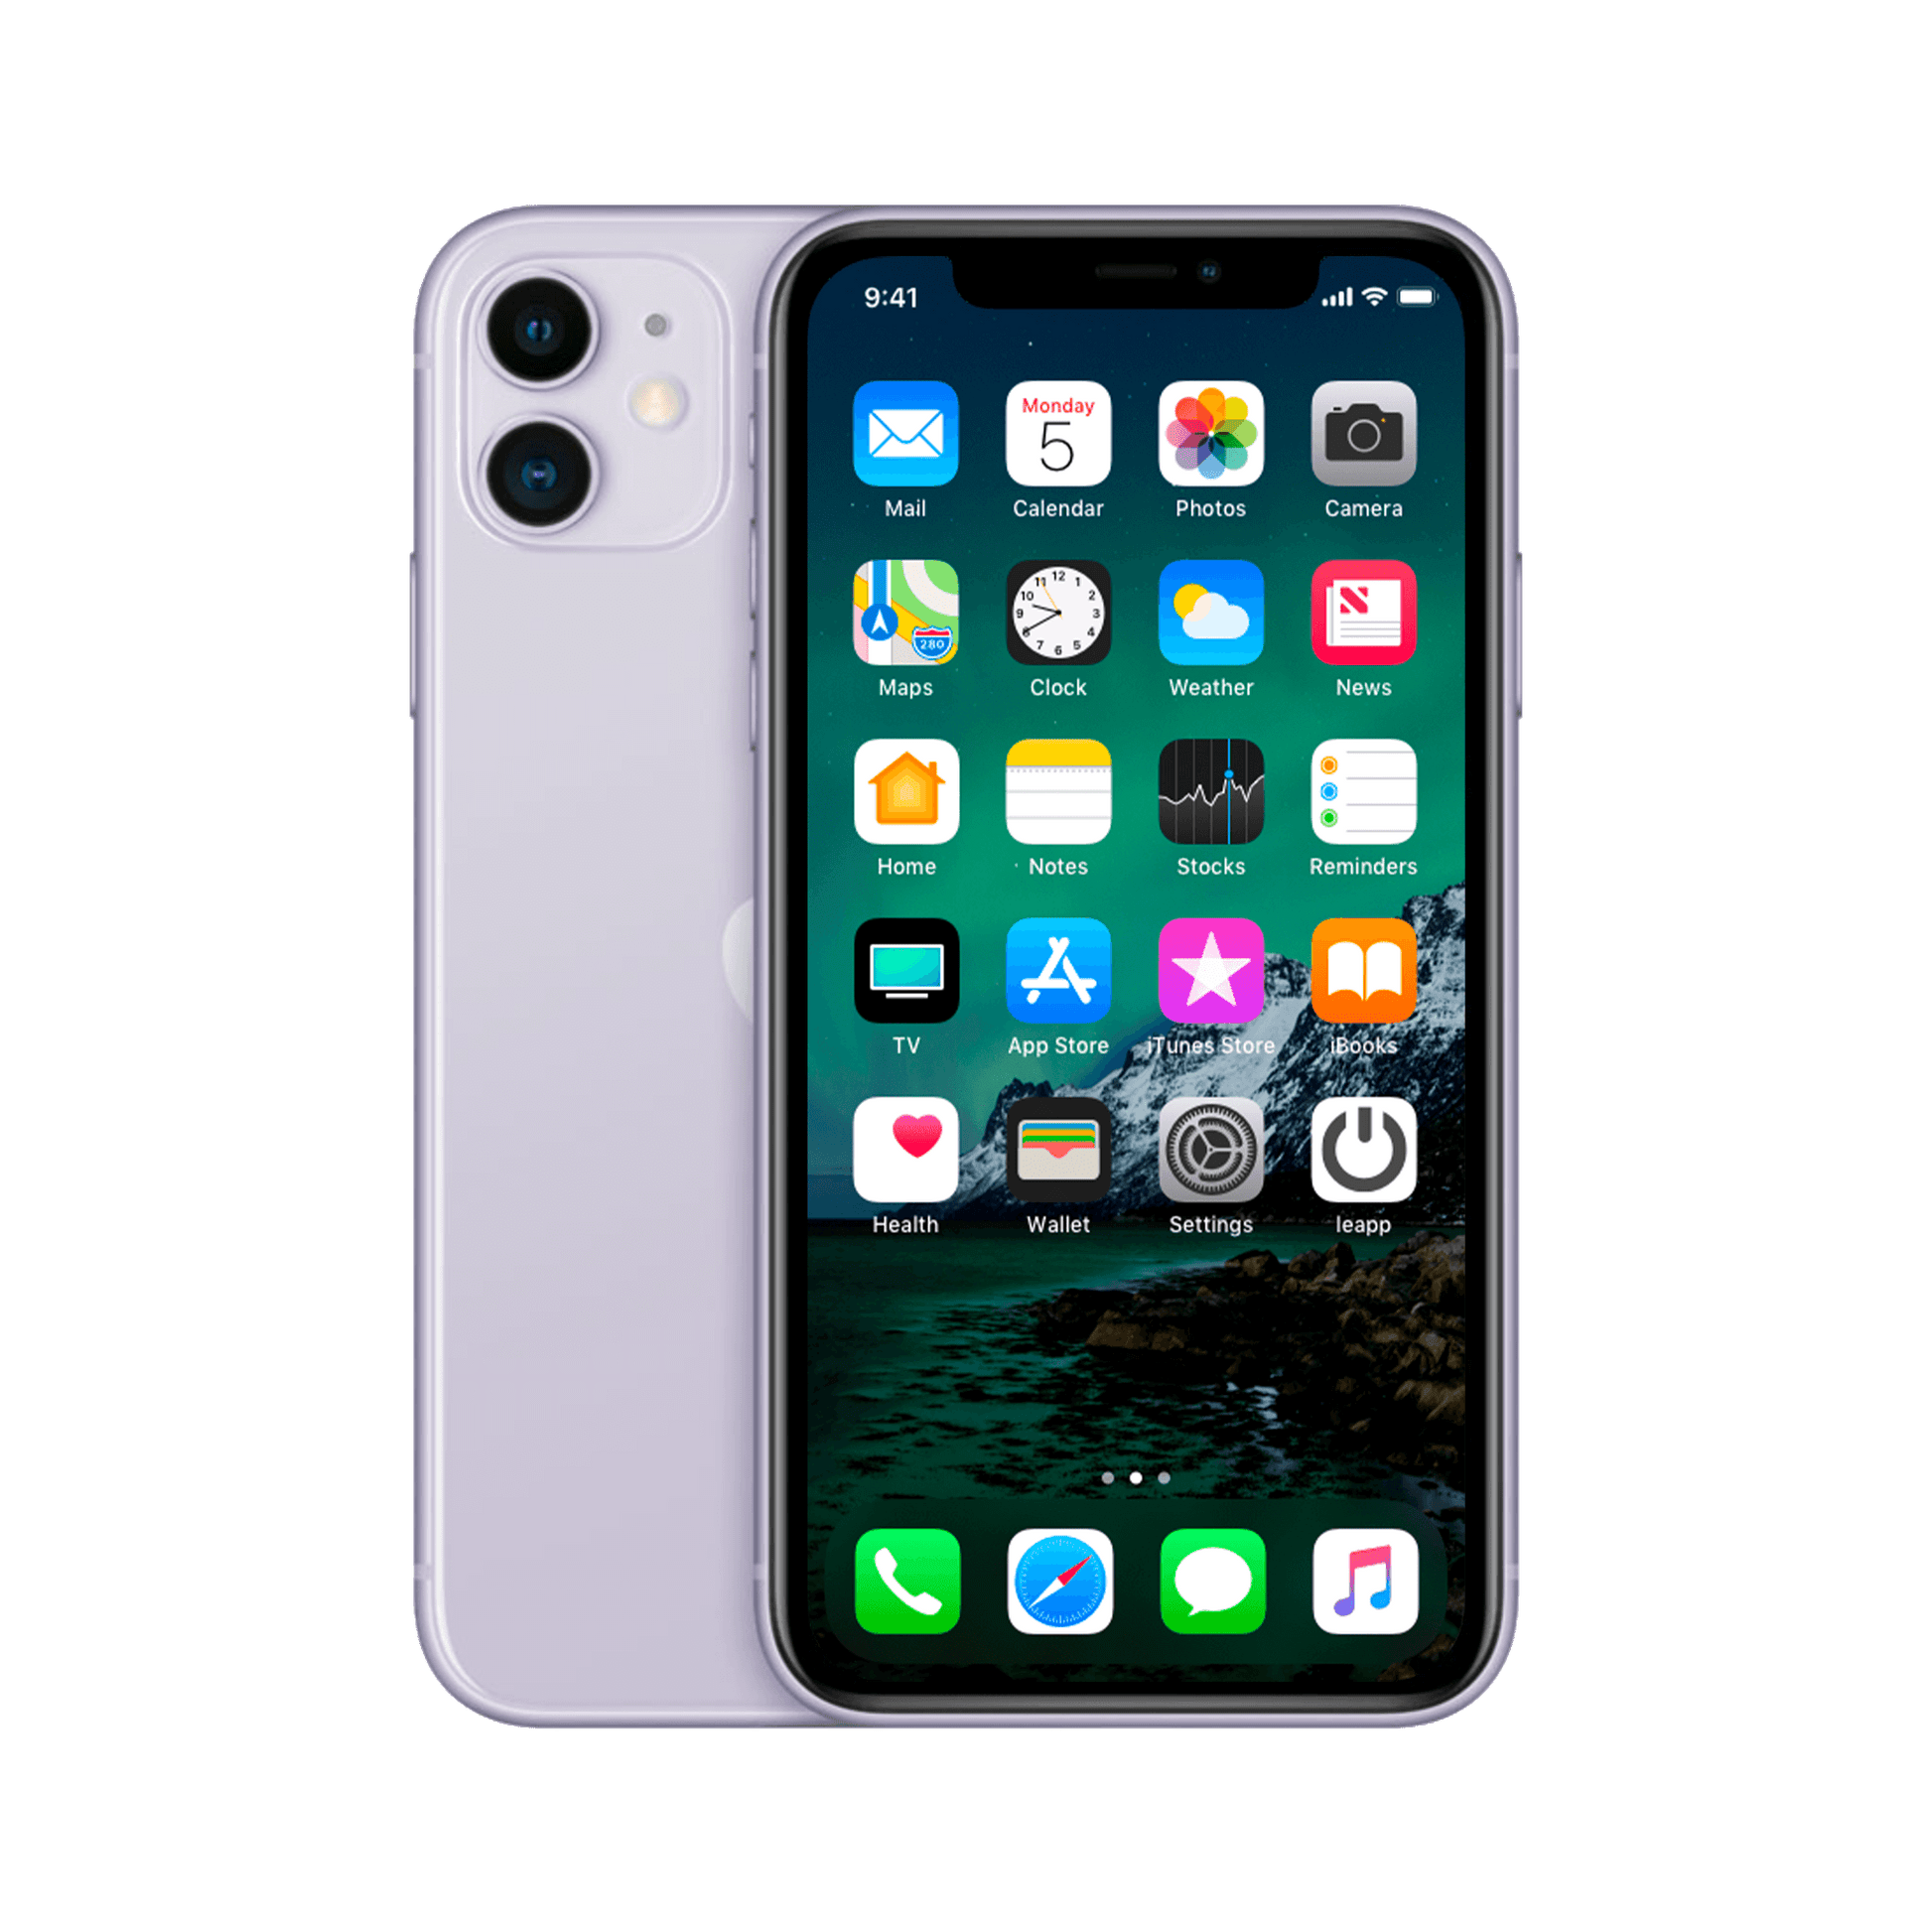
As a proud owner of an iPhone and a Mac, you naturally want these two to work perfectly together. One of the most common tasks you want to perform is transferring photos from your iPhone to your Mac. You want a quick and easy way to do this, with clear instructions and steps to complete the process. Moreover, you want a safe transfer of photos without losing quality. Curious about how to transfer photos from iPhone to PC, click here !
leapp helps you solve this problem
Don’t worry, Leapp is here to help you. We have the solutions to your problems and will guide you step by step on how to transfer photos from your iPhone to your Mac. We will also recommend you which cables or software to use and reassure you that your photos will be safe during the transfer process.
How to Transfer Photos from Your iPhone to Your Mac
There are several ways to transfer photos from your iPhone to your Mac . Here are the most common methods:
1. Use the Photos app
If you’re using a Mac, you probably already have the Photos app installed. This app makes it easy to transfer photos from your iPhone to your Mac. Follow these steps:
- Connect your iPhone to your Mac using a USB cable.
- Open the Photos app on your Mac.
- Select your iPhone from the sidebar under 'Devices'.
- Select the photos you want to import and click the 'Import Selected' button.
Your photos will now be transferred to the Photos app on your Mac.
2. Use iCloud Photo Library
iCloud Photo Library is another convenient way to transfer photos from your iPhone to your Mac. It automatically syncs your photos across all your Apple devices. To do this, follow these steps:
- On your iPhone, go to Settings > [your name] > iCloud > Photos and turn on iCloud Photos.
- On your Mac, open the Photos app, go to Photos > Preferences > iCloud, and check iCloud Photos.
Your photos will now be automatically synced between your iPhone and Mac.
3. Use AirDrop
AirDrop is a wireless way to transfer photos from your iPhone to your Mac. It's quick and easy to use. Follow these steps:
- Make sure both your iPhone and Mac support AirDrop and that they are within Bluetooth and Wi-Fi range.
- On your iPhone, open the Photos app, select the photos you want to share, tap the share icon, then choose your Mac from the AirDrop section.
- On your Mac, accept the AirDrop notification to receive the photos.
Your photos will now be wirelessly transferred from your iPhone to your Mac. If AirDrop is not working, check out this blog.
How can Leapp help you further?
At leapp we are passionate about Apple products and want to help you get the most out of your devices. That is why we offer a wide range of refurbished iPhones and MacBooks that work perfectly together. Moreover, we are always ready to help you if you unexpectedly get stuck, like in this blog.
Our products are durable and reliable, and we offer excellent service to ensure that you are always satisfied with your purchase. So what are you waiting for? Browse our range at leapp.co.uk today and discover how we can help make your daily tasks easier.
And remember, at Leapp, we’re always here to help. Whether you need help choosing the right iPhone or MacBook, or transferring photos from your iPhone to your Mac, we’re here to help. So don’t hesitate to reach out to us if you have any questions. We’re happy to help!


