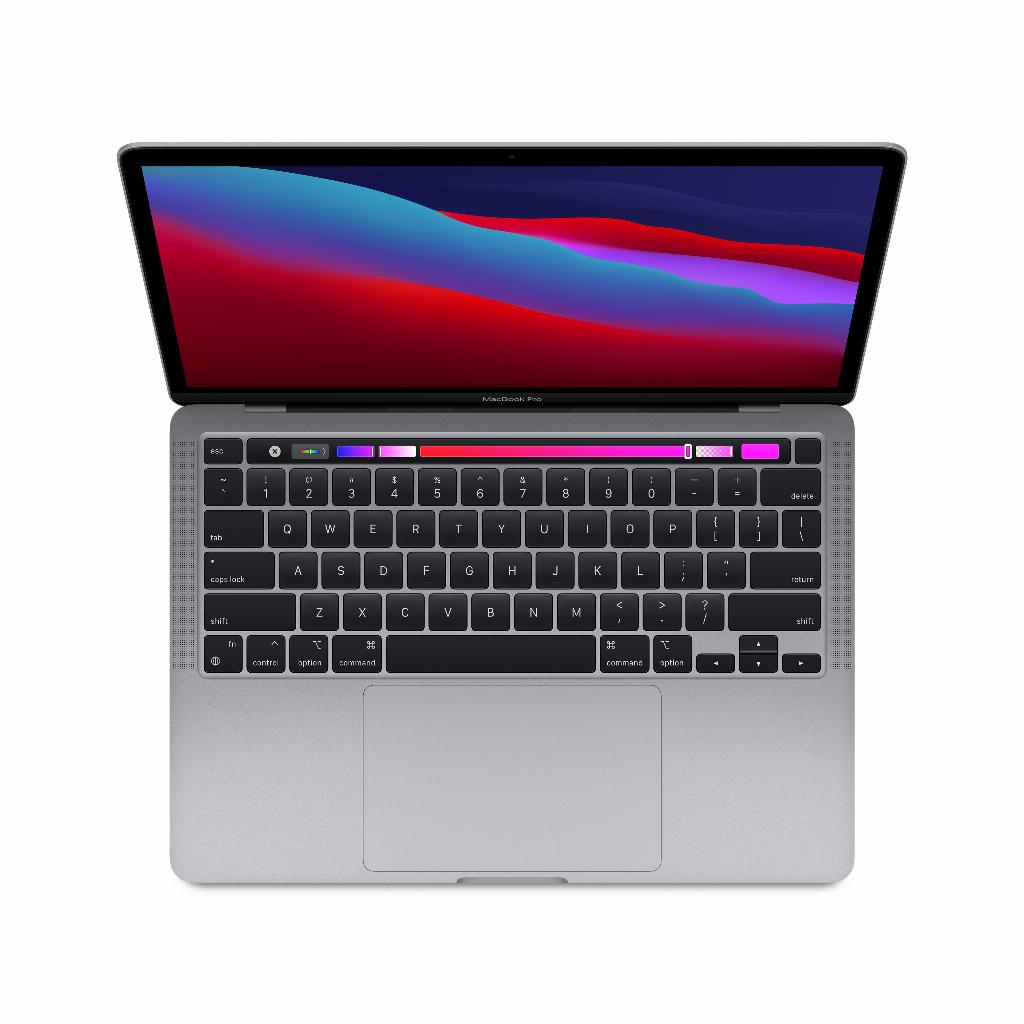
No more hassle with telephone Mac help
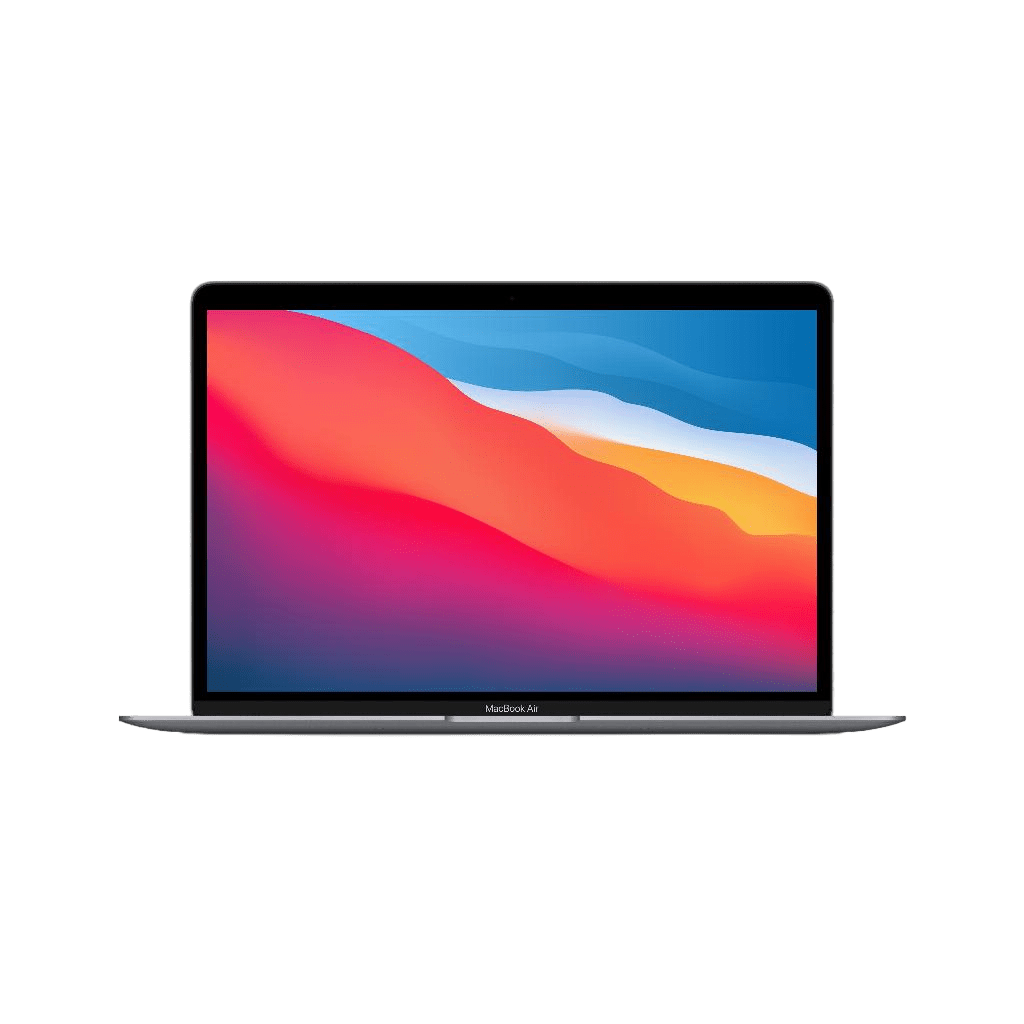
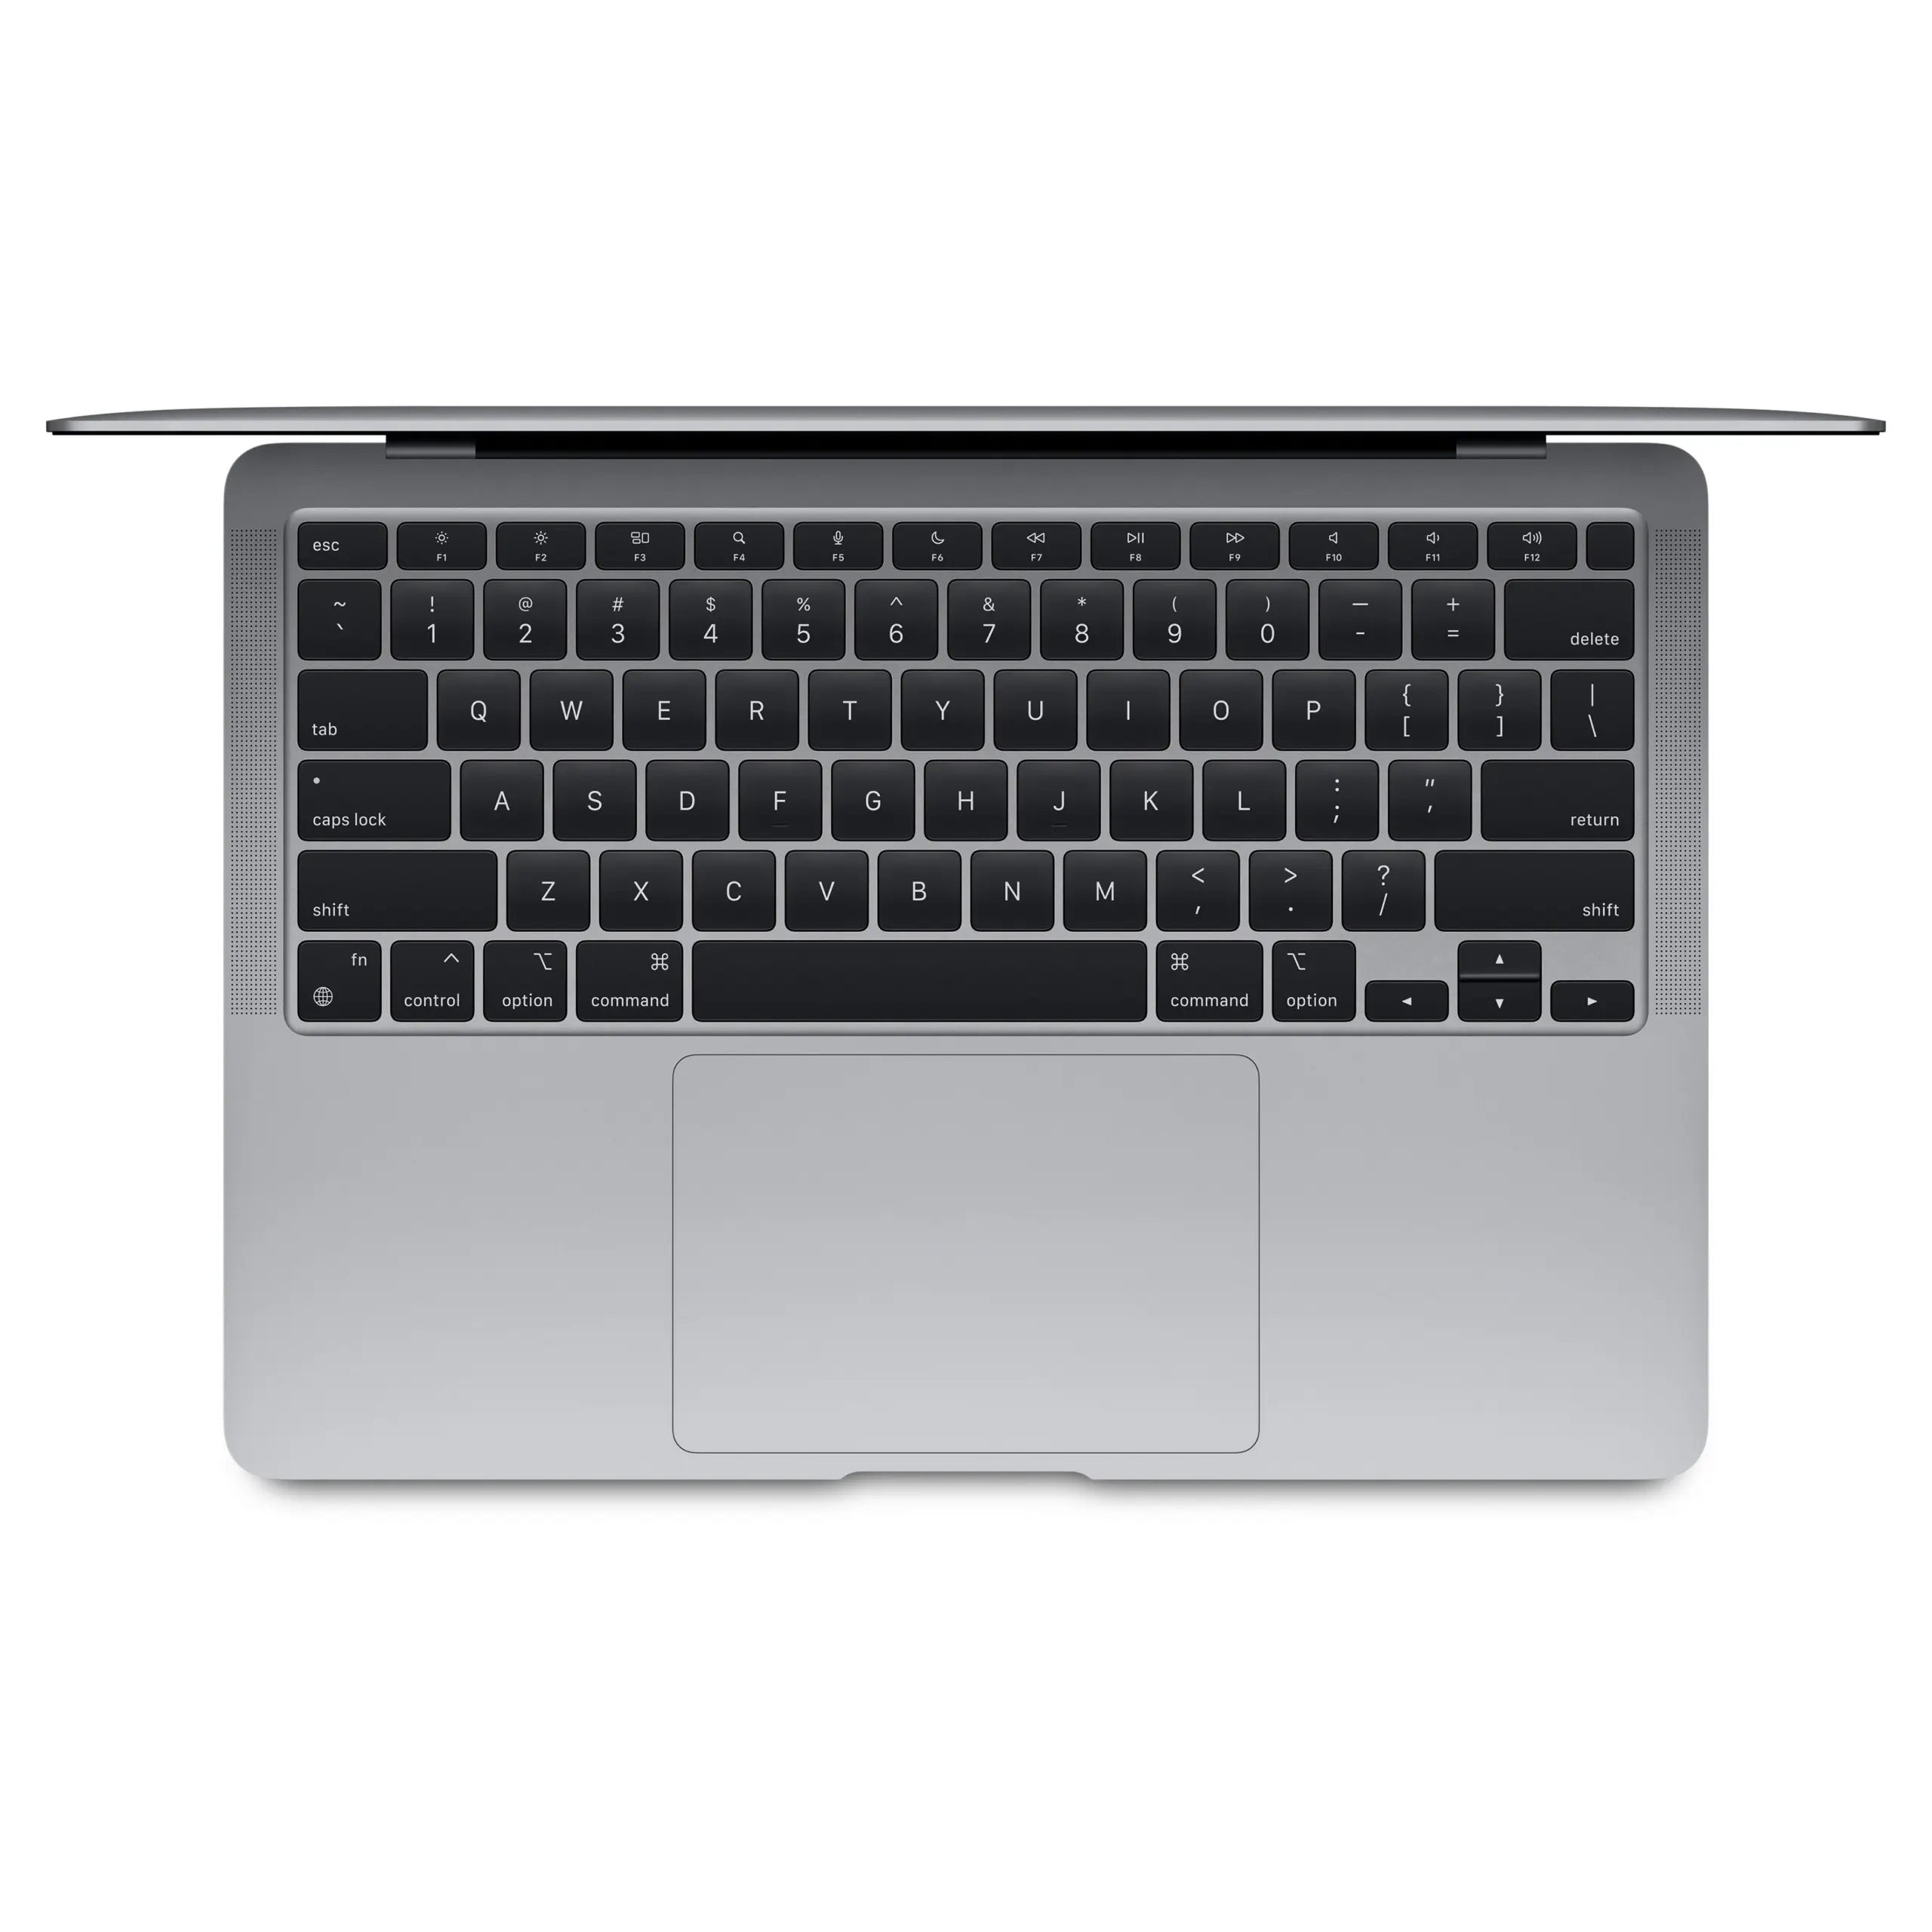
Your mother calls. Again. Her Mac is acting up and she can't figure it out. You try to explain it over the phone, but it's useless. Click here, no there, right-click—frustration abounds. But wait. You don't have to shout out instructions for hours while your AirPods slowly die. Apple has been building in a feature almost nobody knows about for years: Screen Sharing . No extra software needed, no messing around with TeamViewer or other apps. Just take over your mother's Mac as if you were sitting right next to her. Complete with keyboard and mouse. All you need is her Apple ID and two minutes of patience. Even the most computer-savvy family members can handle this—and you no longer have to act as a help desk with just your voice and some wild hand gestures that no one sees.
Useful links
What is screen sharing on Mac?
Screen sharing is a built-in macOS feature that allows you to view and even take over another Mac's screen. This feature has been around for years, but many people don't even know it exists. The beauty of it is that you don't need to install any extra software. Everything is already built into your Mac.
The feature works through Apple ID. This means you only need the email address of the person you want to help. No complicated passwords, no special accounts to create, no firewalls to deal with. Apple takes care of the technical side of things for you.
How to start a screen sharing session
Step 1: Open the Screen Sharing app
The app isn't prominently displayed in your dock, but it's there. The quickest way to find it is by using Spotlight (cmd + space) and then typing "Screen Sharing." You can also find it in the Utilities folder inside your Applications folder.
Step 2: Enter the Apple ID
Once the app opens, you'll see a simple input field. Enter the Apple ID (email address) of the person you want to help. Note: This must be the Apple ID they're logged in with on their Mac, not just any email address.
Step 3: Wait for approval
The person on the other end will now see a notification on their screen. This message informs them that you're requesting access to the screen. They can choose between viewing only or granting you control over the keyboard and mouse. For most support sessions, you'll naturally want the latter option.
Step 4: Take control
Once permission is granted, a new window will open on your Mac. It will show the other Mac's entire screen. If you have control permission, you can move the mouse, type, and click as if you were sitting at that Mac.
Tips for effective screen sharing
Communicate during the session
Even if you see what's happening, keep talking to the person you're helping. For example, use FaceTime Audio or simply the phone. Explain what you're doing and why. This way, the other person will learn from it too.
Use the correct resolution
If the other Mac's screen has a higher resolution than yours, the image may appear small. You can adjust this via the View menu in the screen sharing app. Select "Scale to Window" for the best view.
Know the shortcuts
During a screen sharing session, not all keyboard shortcuts work as expected. For example, Cmd+Tab switches between apps on your Mac, not on the Mac you're controlling. For actions on the remote Mac, you often have to use the mouse.
Troubleshooting common problems
"Unable to connect"
This usually happens when one of the Macs doesn't have a good internet connection. First, check if both devices are online. Sometimes temporarily disabling the firewall in System Preferences > Security & Privacy also helps.
Screen remains black
Sometimes you can see a connection, but the screen remains black. This is often because the other Mac is in sleep mode. Ask the other person to press a key or move the mouse.
Delay in service
With a slow internet connection, you may experience a delay between your actions and what happens on the screen. This is normal. Work a little slower and wait a moment after each click to see the result.
Alternatives to screen sharing
While the built-in screen sharing works fine, there are times when you might need something else. TeamViewer remains popular for Mac and Windows connections. Zoom also has a screen sharing feature that's useful during video calls.
For professional use, software like LogMeIn or AnyDesk may be interesting. These offer more advanced features such as unattended access and file transfer. But for helping family and friends, the built-in Mac functionality is more than sufficient.
Privacy and security
Apple's screen sharing is secure. All connections are encrypted, and the person you're helping must always give explicit permission. After each session, the connection is automatically disconnected. There's no way to secretly access someone's Mac.
Still, it's wise to be cautious. Only grant access to people you trust. And if you're being helped, pay attention to what the other person is doing. You can always end the session immediately by clicking the stop button, which remains visible throughout the session.
Conclusion for effective use
Screen sharing on Mac is a powerful feature that many people overlook. It saves you hours of frustrating phone calls trying to tell someone where to click. Instead, you can simply take control and solve the problem in minutes.
The next time someone calls with a computer problem, remember this feature. It even works if you're on opposite sides of the country. As long as both Macs have an internet connection and are signed in with an Apple ID, you can help. No more excuses for not being the family's digital hero.
Why Everyone Should Know About Screen Sharing
Screen sharing on your Mac is one of those features you wonder why everyone isn't using. It's been a standard feature in macOS for years, works in just a few clicks, and prevents endless frustration on both ends of the line. Whether you're helping your parents with their new refurbished MacBook or assisting a friend with a software problem, this feature lets you solve it as if you were right there. No hassle with external software , no complicated installations. Simply enter your Apple ID, ask for permission, and you're done. The next time the phone rings with another computer-related question, you'll know what to do.


