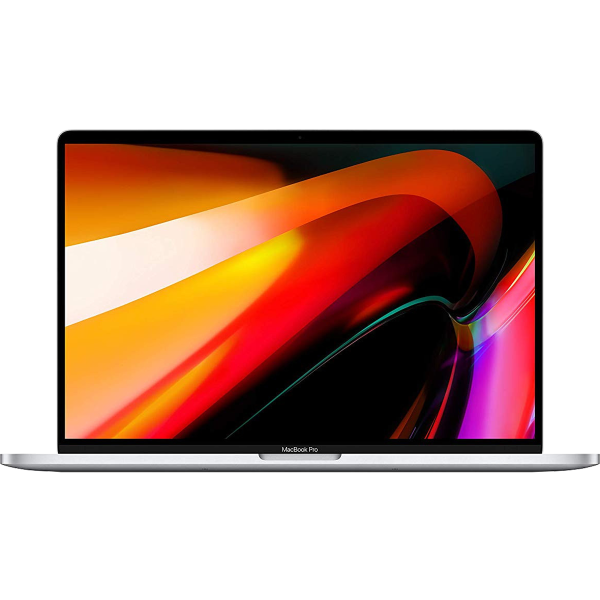
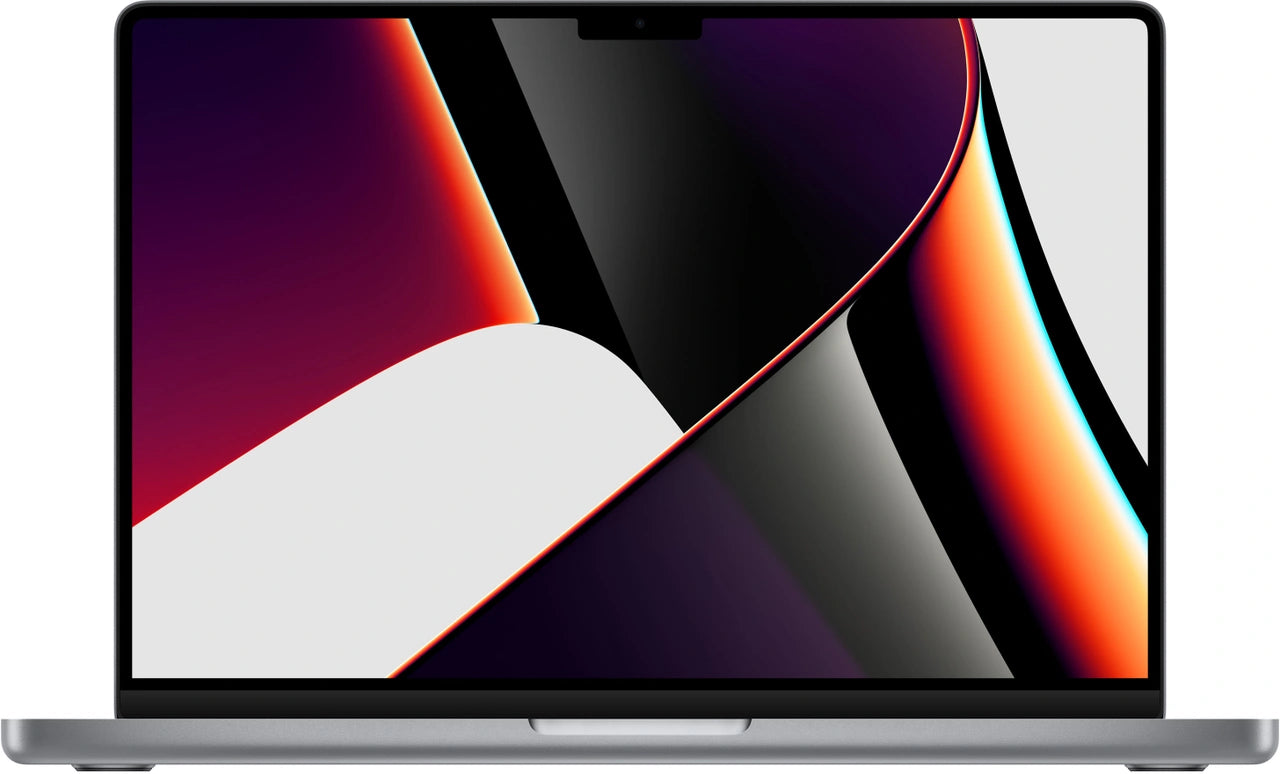
MacBook and Office: the perfect combination for students
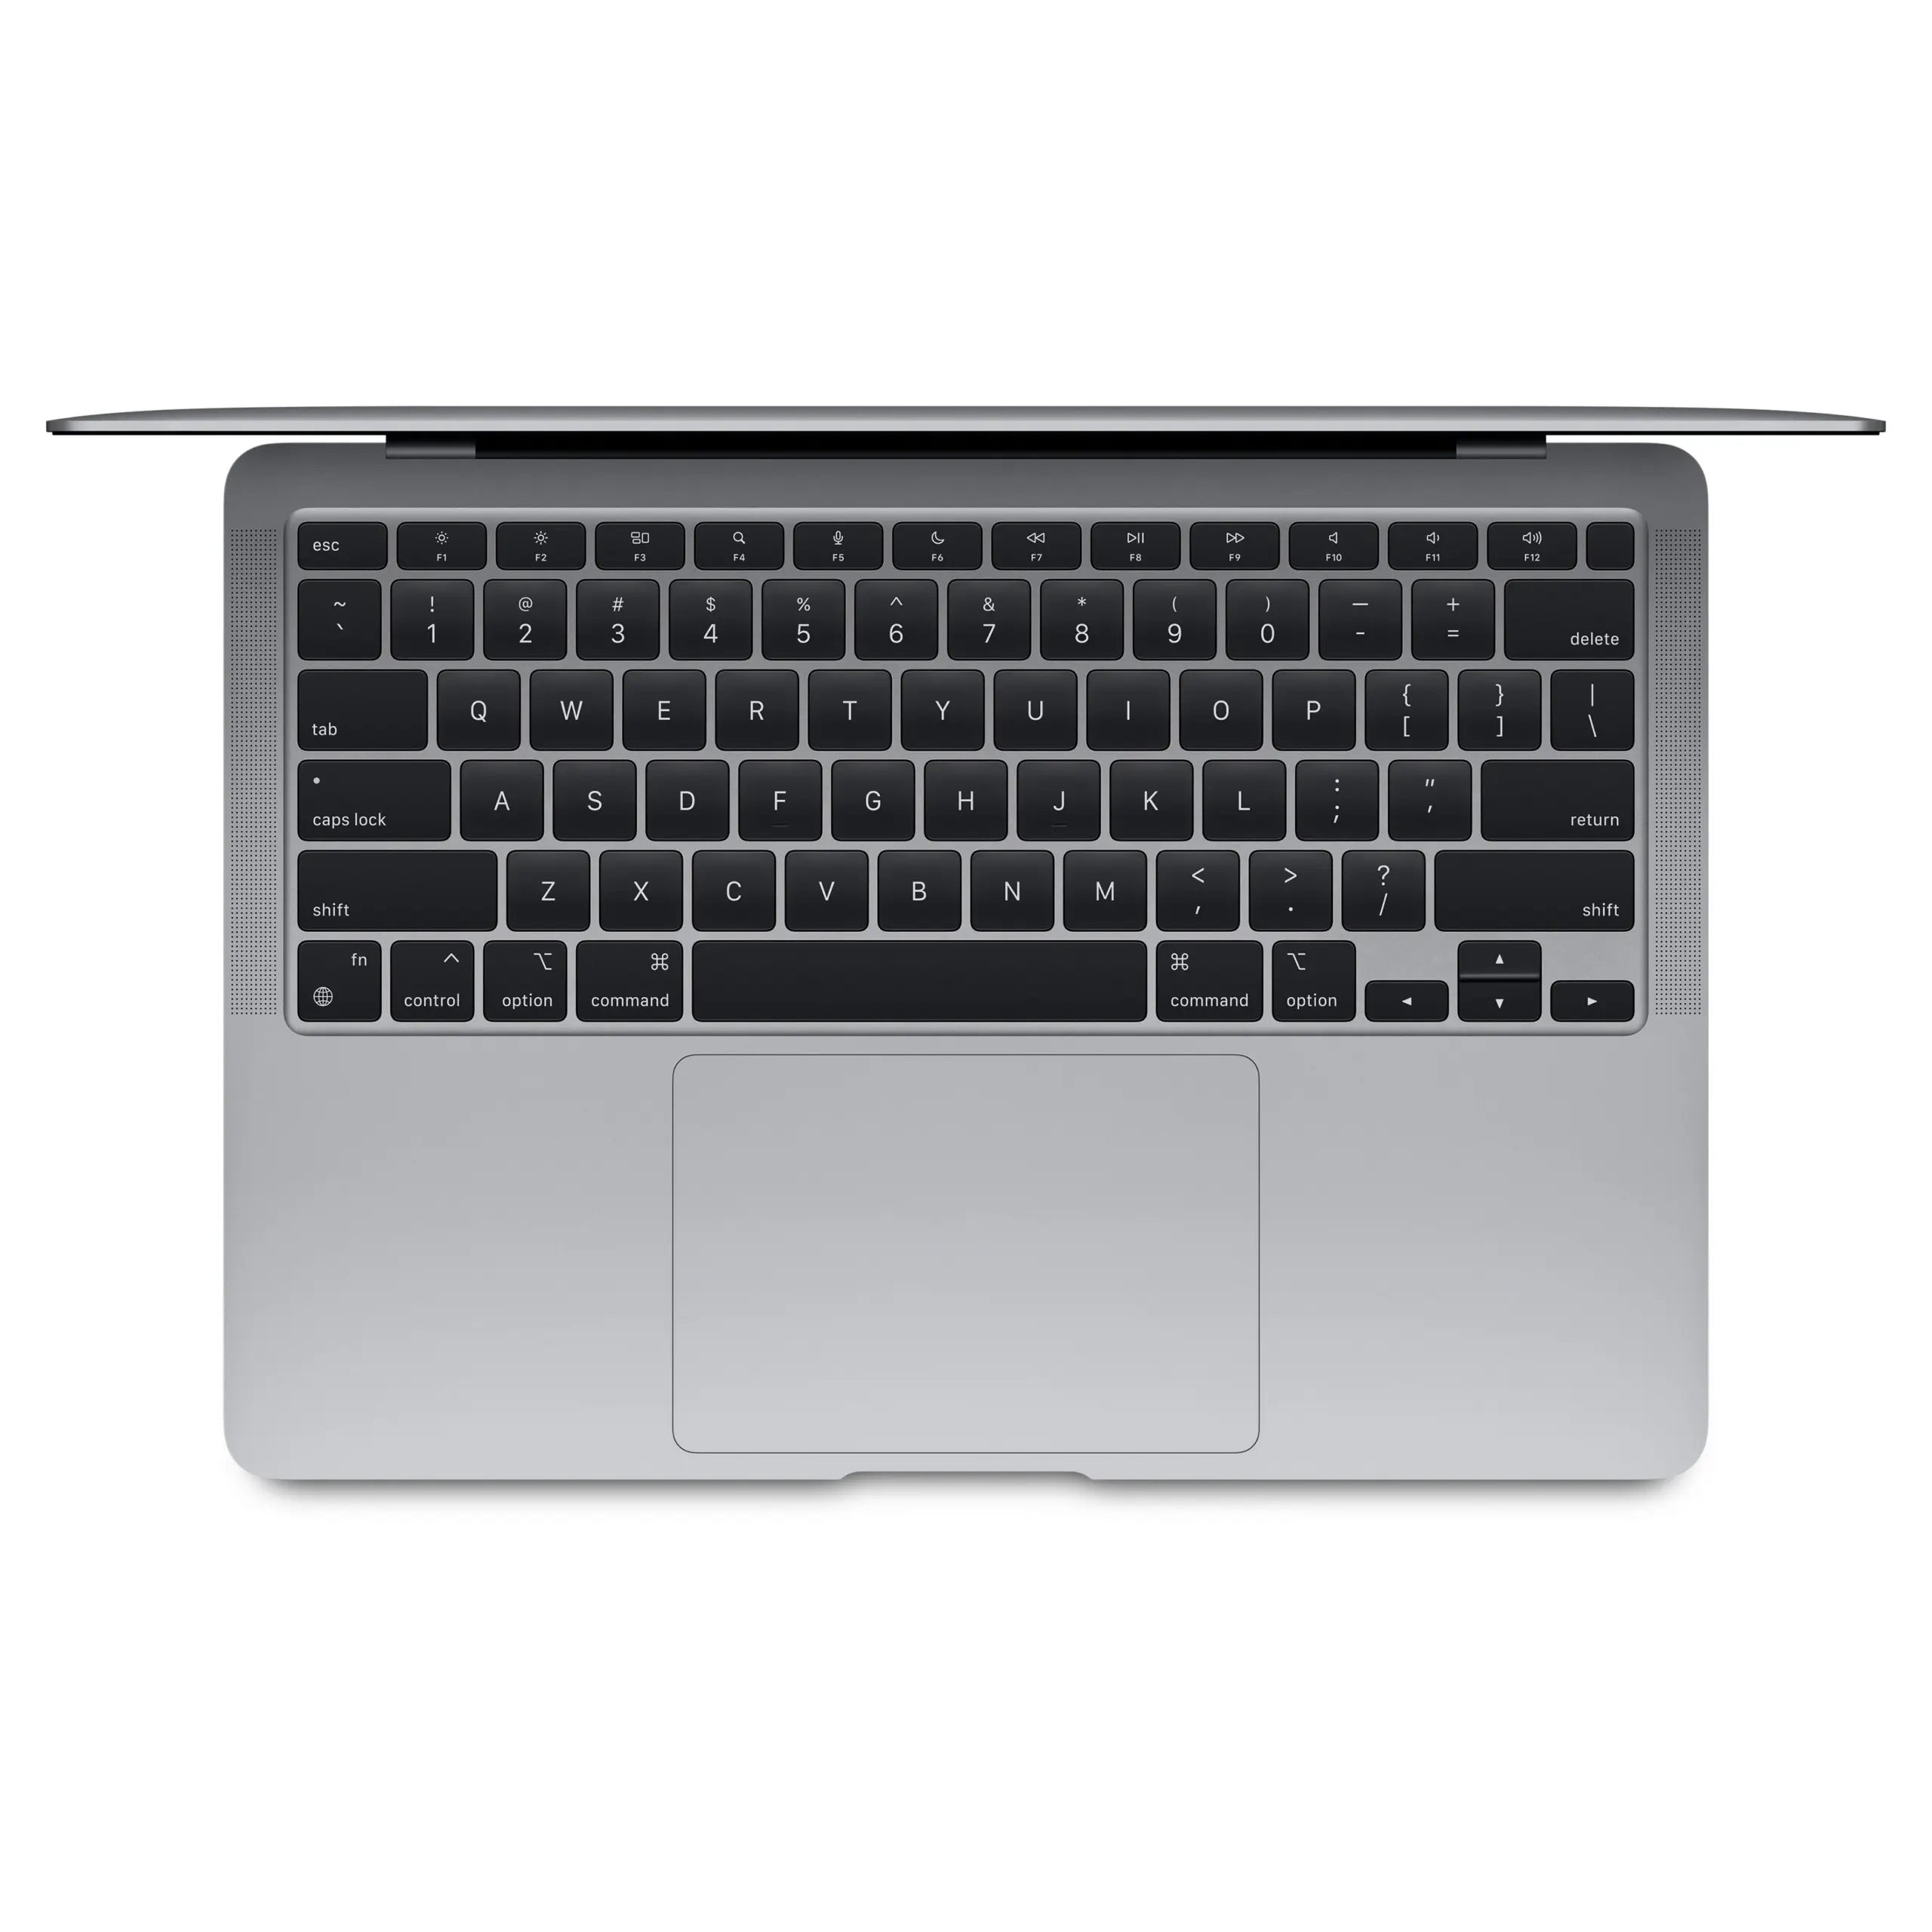
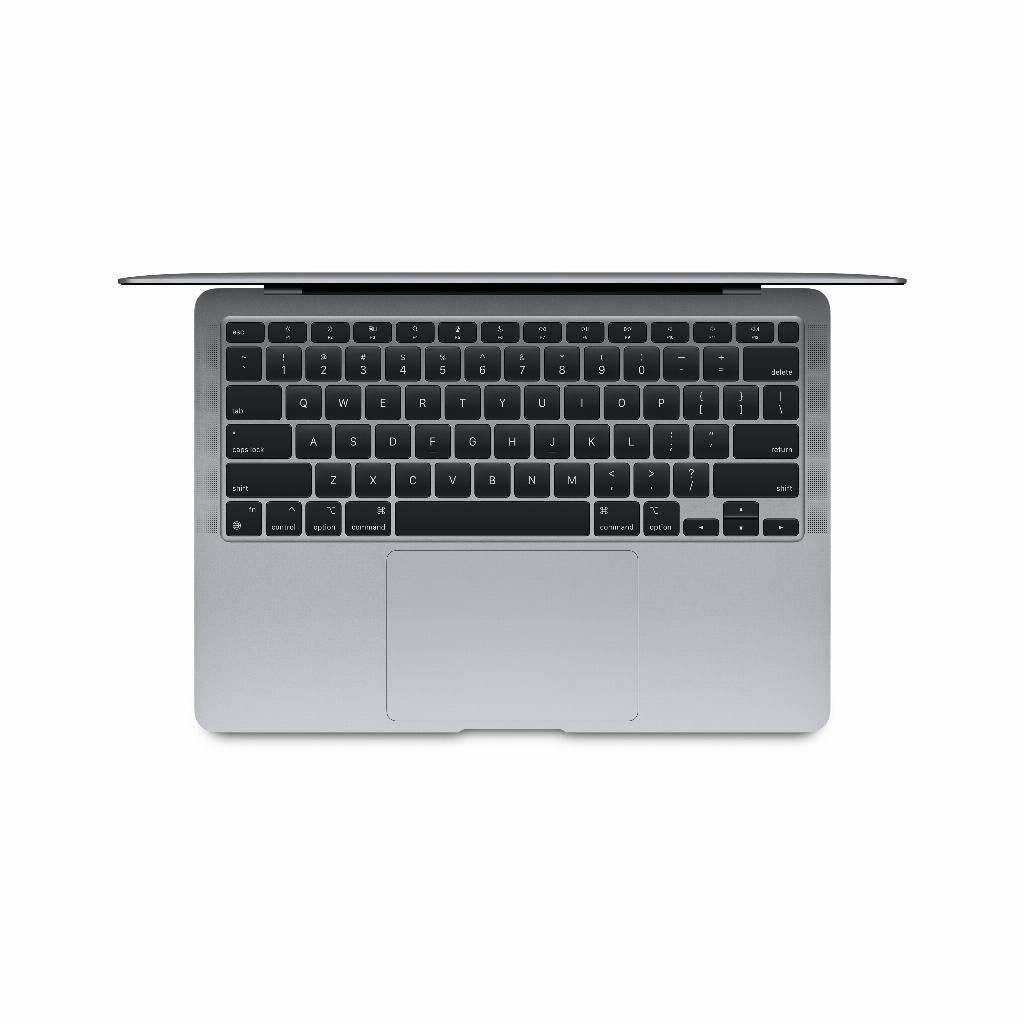
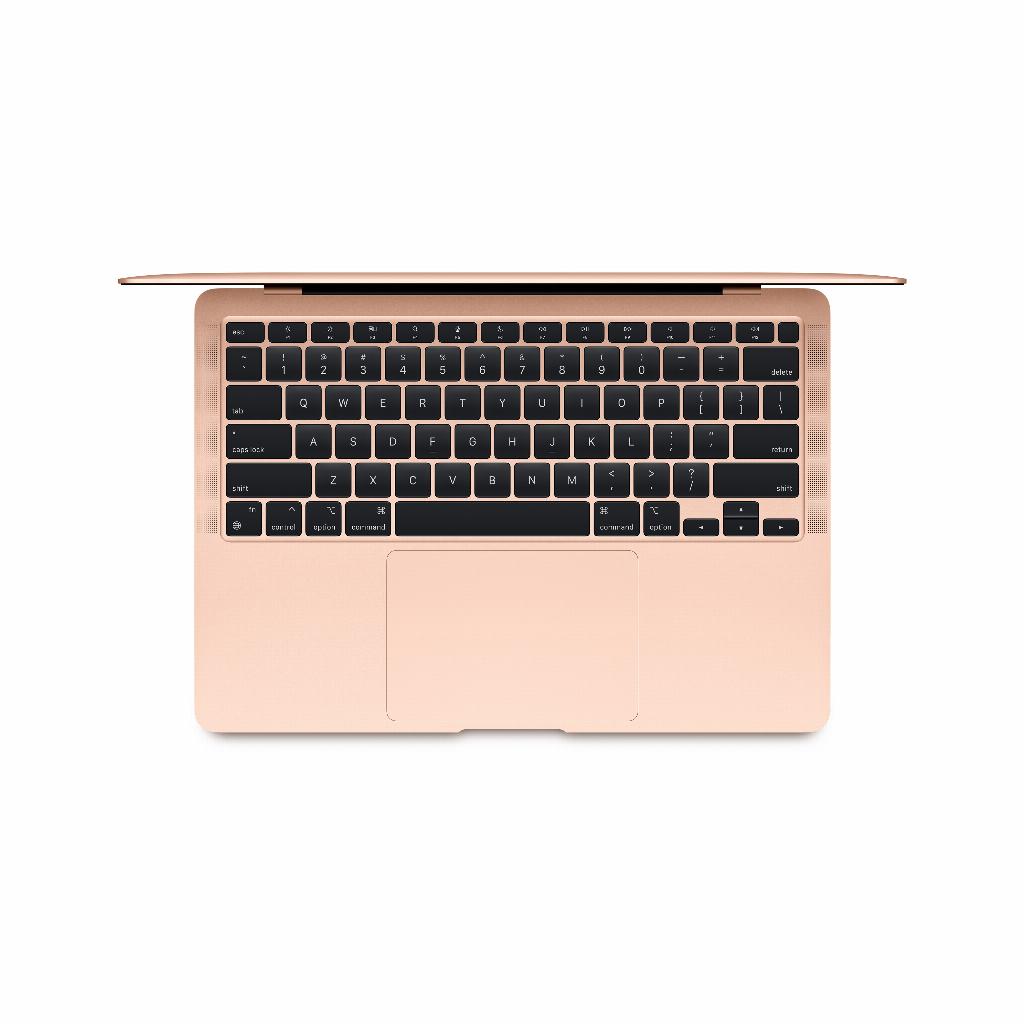
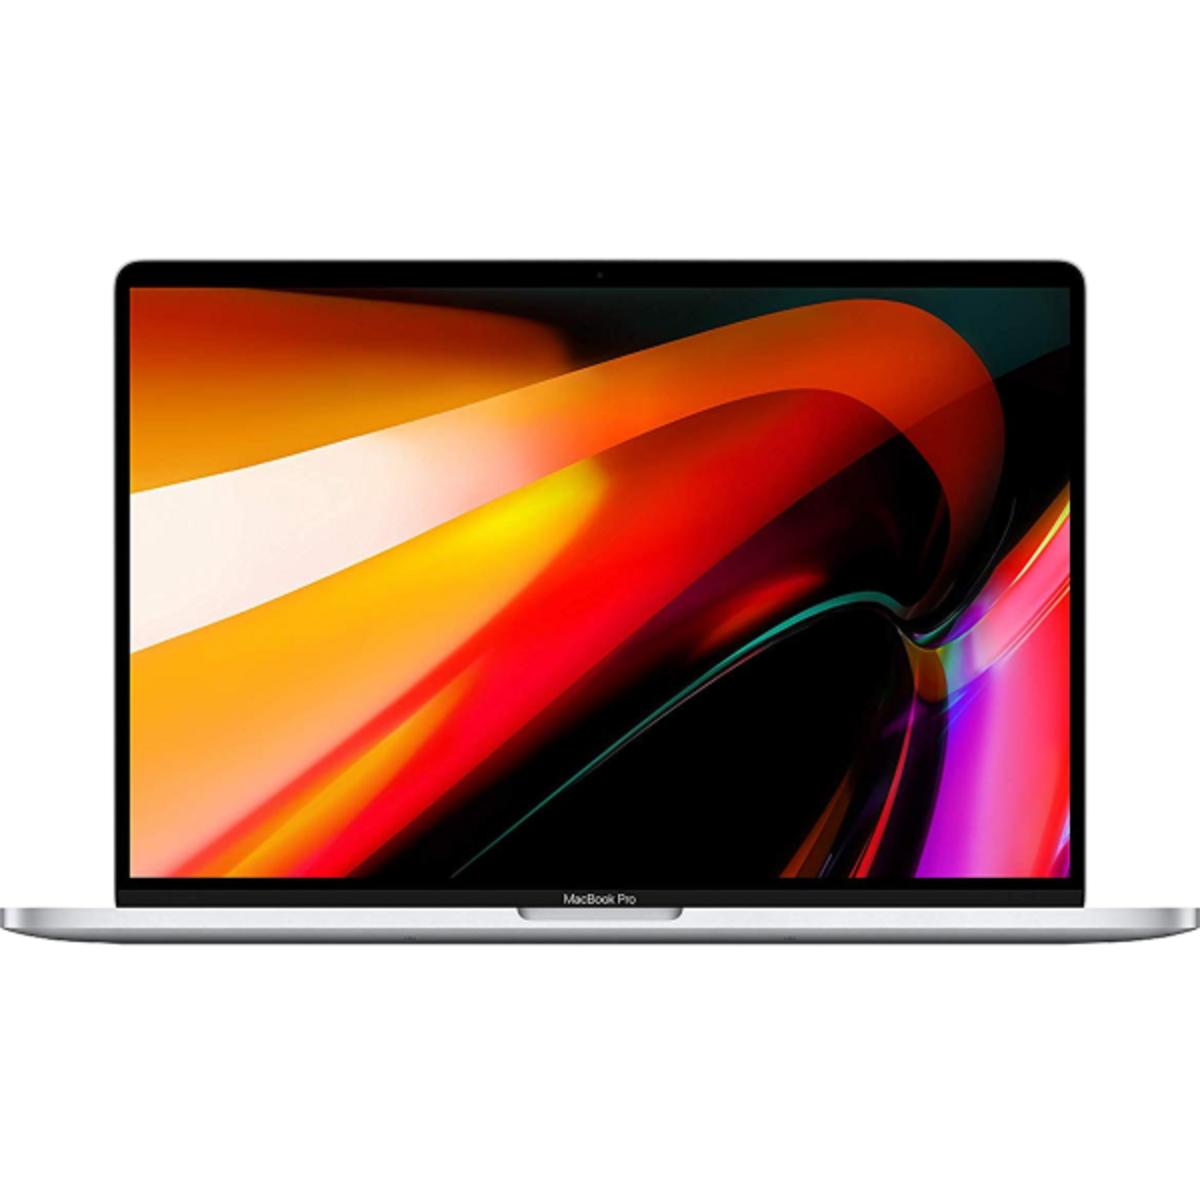
MacBook for your studies. Office for your assignments. Two worlds colliding. Most students struggle with this choice: the reliability of Microsoft Office or the elegance of a Mac. They think you have to choose between familiar software and a premium laptop.
However, here's the flaw. Office 2024 runs flawlessly on your MacBook —in fact, it often works better than on many Windows laptops. No compatibility issues, no file format quibbles. You type your thesis in Word while your AirPods play the perfect focus playlist . With the right accessories, your Mac setup becomes complete .
The real advantage? As a student, you often don't have to pay anything for Office. That free license from your educational institution works perfectly on Mac. So why hesitate?
Useful links
- AirPods for optimal focus while studying
- Accessories for your complete Mac setup
- Refurbished MacBooks for students
Why Office 2024 is ideal for Mac students
The combination of a MacBook and Office 2024 proves to be the perfect match for many students. The preconception that Microsoft software runs poorly on Apple hardware is long outdated. In fact, the integration often works more smoothly than many Windows laptops can offer.
The biggest advantage for students? Most educational institutions offer free access to the full Office suite. This means you have Word for your theses, Excel for data analysis, PowerPoint for presentations, and Outlook for your email at no extra cost. This license works seamlessly on your Mac.
The software seamlessly integrates with the Mac environment. Touch Bar support, Retina display optimization, and full integration with macOS features like Spotlight and Quick Look make working extra efficient. You don't have to worry about compatibility with other students using Windows—all file formats are fully compatible.
Installation: simpler than you think
The installation process for Office on Mac is surprisingly smooth. As a student, you start by verifying your student status:
- Check your educational license : Go to the Office website and log in with your student email
- Download the installation package : Select the Mac version of Office 2024 or Microsoft 365
- Run the installation : The .pkg file will automatically open the installer
- Activate with your student account : When using it for the first time, log in with your education email.
- Configure automatic updates : Make sure you always have the latest version
The entire process takes about 15 minutes, depending on your internet speed. The installation file is approximately 3 GB, so make sure you have enough storage space on your Mac.
Functionality: What can you expect?
The Mac version of Office 2024 includes all the essential features you need as a student. Word offers extensive options for writing papers, including automatic citations and table of contents. Excel performs complex calculations smoothly, perfect for statistics or economics courses. PowerPoint supports all modern presentation formats and animations.
There are some differences with the Windows variant:
- The ribbon interface has been adapted to Mac design guidelines
- Some advanced Excel features such as Power Pivot are missing
- Access database software is not available for Mac
- Publisher has no Mac equivalent
These limitations are irrelevant for 95% of students. The core functionality remains identical, and documents are fully compatible between platforms.
Collaboration becomes easier
Sharing documents with fellow students is seamless. OneDrive integration ensures automatic syncing between devices. You can collaborate in real time on Word documents or PowerPoint presentations, regardless of whether your teammates use Mac or Windows.
The commenting feature works across platforms, simplifying feedback and processing. Tracking changes works identically on both systems, which is useful for group projects where multiple versions circulate.
Performance and system requirements
Office 2024 runs efficiently on any Mac from 2019 onwards. The minimum system requirements:
- macOS 10.12 Sierra or later
- 4 GB RAM (8 GB recommended)
- 10 GB of free disk space
- 64-bit processor
On newer Macs with Apple Silicon (M1/M2 chips), Office runs natively, resulting in faster boot times and longer battery life. An M1 MacBook Air can easily handle 10+ hours of Office work on a single charge.
Considering alternatives
While Office 2024 remains the standard, there are alternatives. Apple's iWork suite (Pages, Numbers, Keynote) is free and works well for basic tasks. Google Workspace offers browser-based tools that are platform-independent. LibreOffice is a free, open-source option with good compatibility.
Yet, most students choose Office because of its universal acceptance. Instructors often specifically expect Word documents, and many course materials are optimized for Office formats. The learning curve for alternatives can waste valuable time during busy study periods.
Tips for optimal use
Maximize your productivity with these practical tips:
- Use templates for standard documents such as essays and lab reports
- Set up AutoSave for OneDrive to never lose your work
- Learn keyboard shortcuts; Mac versions use Command instead of Control
- Install the Office app on your iPhone to work on the go
- Use Focus Mode in Word for distraction-free writing
The combination with Mac-specific tools further increases efficiency. Mission Control helps organize multiple Office windows. Spotlight searches Office documents as easily as other files. Time Machine automatically backs up all your work.
Conclusion for students
Office 2024 on Mac offers students the best of both worlds. You benefit from the reliability and universal compatibility of Microsoft software, combined with the elegance and user-friendliness of Apple hardware. The free student license makes the choice even easier.
Installation is seamless, performance is excellent, and collaboration with Windows users is effortless. For the occasional limitation, there are workable alternatives. With the right accessories, such as an external monitor or ergonomic keyboard, your Mac workspace becomes complete. This combination will provide optimal support throughout your entire study period.
Office on Mac: the practical choice for your studies
Office 2024 on your Mac simply proves to be the practical choice for your studies. No compatibility hassles, no worries about file formats not being opened by your fellow students. With your free student license, you have instant access to all the tools you need – from Word for your thesis to Excel for those pesky statistics assignments.
Installation takes just fifteen minutes, and afterward, you can collaborate seamlessly with anyone, regardless of their system. Combine it with a refurbished MacBook and the right accessories , and you have a setup that will last your entire program.


