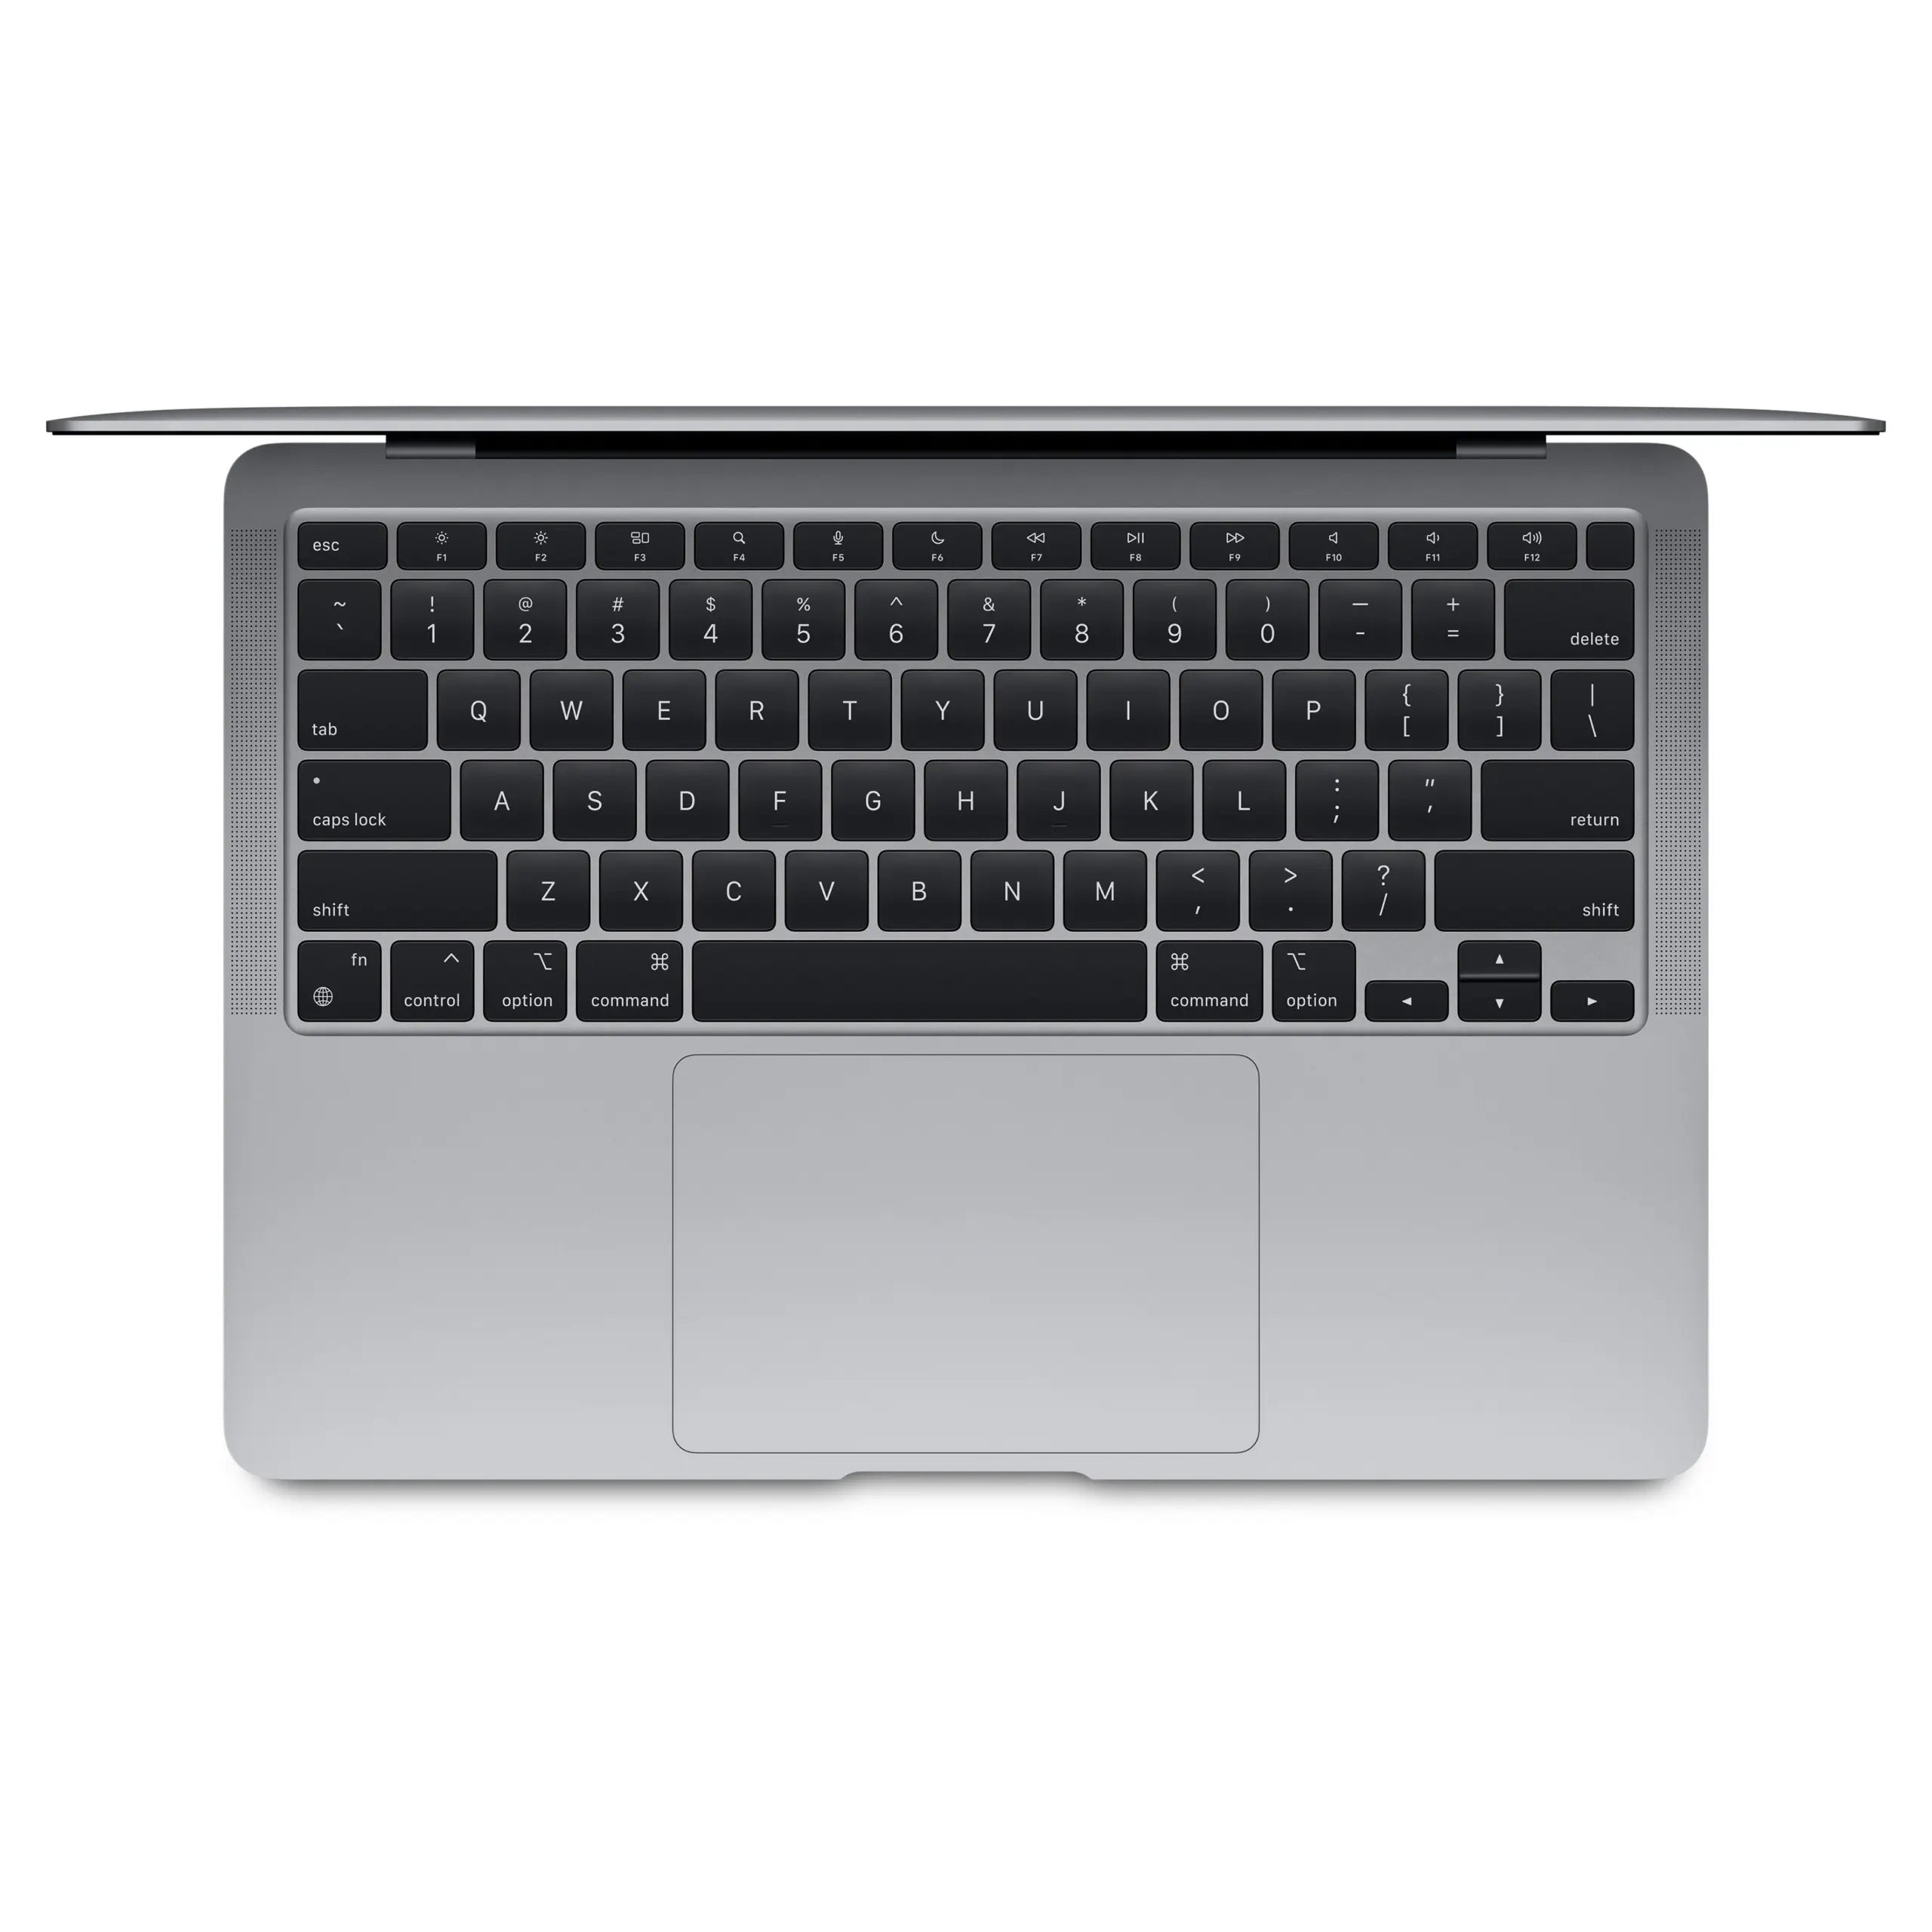
Reinstall MacBook without data loss
Your MacBook crashes. Software stutters. The system becomes sluggish. The obvious solution: reinstall. But then there's the fear of data loss. All your photos, documents, years of digital memories—one wrong click and it's all gone.
Yet that fear is precisely unnecessary . Because reinstalling your MacBook is now safer than updating your AirPods . Apple has simplified the process so much that even your backup is automatically restored. In fact, many people don't realize that a clean install is often faster with data retention than without.
The trick isn't the technique, but the order. Forget those complicated, twenty-step tutorials. With the right accessories and three simple steps, you're all set. No technical knowledge required, no risk of loss.
Useful links
- Refurbished Apple products - for replacement hardware
- Refurbished MacBooks - when your system can no longer be saved
- Apple accessories - external drives for backups
Why reinstall your MacBook?
A clean installation of macOS fixes many problems, such as random crashes, slow performance, or software that no longer works correctly. It essentially gives the system a second life. Old configuration files are removed, corrupted system files are replaced, and unnecessary cache files are cleared out.
The great thing is that Apple has simplified the process over the years. Where you used to have to burn startup disks and execute complex terminal commands, it now works with just a few mouse clicks. The built-in recovery partition eliminates the need for external media.
Preparation: Backup is everything
The first and most important step is to create a complete backup. Time Machine remains the easiest method. Connect an external drive with sufficient space—at least twice the space used on your Mac. The system will take care of the rest automatically.
But Time Machine isn't the only option. iCloud syncs documents, photos, and desktop files. For developers, Git repositories are ideal. Dropbox or Google Drive also work well for specific folders. The advantage of multiple backup methods: extra security.
Backup Checklist
- Check if Time Machine has completed the latest backup
- Export important passwords from Keychain Access
- Note serial numbers of paid software
- Download installation files of essential programs
- Sync photos with iCloud or export them manually
Using the recovery partition
Modern Macs have a hidden recovery partition. This partition contains all the system recovery tools. You can access it by holding down Command + R during startup. The Apple logo will appear, followed by the macOS Utilities window.
Here you'll find four options: Restore Time Machine, reinstall macOS, get online help, and Disk Utility. For a clean installation, first use Disk Utility to erase the disk, then reinstall macOS.
Alternative boot options
There are more options besides Command + R. Option + Command + R installs the latest compatible macOS version. Shift + Option + Command + R installs the original factory version. This last option is useful when selling your device.
Disk Erase: The Correct Settings
In Disk Utility, select your startup disk. This is usually called "Macintosh HD." Click "Erase" and choose the appropriate format. APFS is the default for modern Macs (2016 and later). Older models use Mac OS Extended (Journaled).
The name of the drive doesn't matter. "Macintosh HD" works fine, but you can also choose something more personal. The process of erasing takes a few minutes, depending on the size of the drive and the storage type (SSD or HDD).
Installing macOS: Patience is a virtue
After erasing, return to the utility window. Select "Reinstall macOS." The system will download the latest version from Apple's servers. This process can take anywhere from 30 minutes to several hours, depending on your internet speed.
Your Mac will restart several times during installation. This is normal. Don't panic if the screen goes black or the progress bar appears to freeze. The process runs in the background.
First configuration
After installation, the setup assistant will launch. Here you can set your language, region, and network connection. When prompted about data transfer, select "Restore from Time Machine backup." The system will automatically recognize your external drive.
Data recovery: selective or complete
Time Machine offers flexibility when restoring. You can restore everything or choose selectively. For a truly clean start, restore only user files without applications. Then, install programs manually.
The restore process displays an estimated time. For large backups, this can take several hours. Your Mac will remain usable during the restore, but performance will be temporarily limited.
After installation: optimization
A fresh install is the perfect opportunity for optimization. Only install software you actually use. Configure automatic updates for maximum security. Reconfigure Time Machine for future backups.
Also check the Startup Items in System Preferences. Fewer startup items means faster startup. Remove old printers and Bluetooth devices from the list. These small adjustments make a noticeable difference.
Measuring performance improvement
The speed gains of a clean installation are measurable. Programs launch faster, the system responds more directly, and the fan runs less frequently. Older MacBooks, in particular, benefit enormously. The difference is comparable to replacing an old HDD with an SSD.
Preventing problems
Some tips to prevent future problems: install software only from the App Store or trusted sources. Use Disk Utility regularly for maintenance. Keep at least 10% of your disk space free for optimal performance.
Make things easier by using cloud services. Documents in iCloud, photos in Apple Photos, music in Apple Music. Everything will be back automatically the next time you reinstall, without the hassle of backups.
A fresh start for your MacBook
So, reinstalling your MacBook isn't rocket science at all. With a good Time Machine backup, you'll be done in a few hours, and your system will be running like new again. The performance improvement is particularly impressive for older models – it can sometimes save you the cost of a new MacBook .
The most important thing remains that backup beforehand. After that, it's simply Command + R , erase the disk, install macOS, and restore your data. That's it. Your Mac gets a second life without losing a single file.


