iPhone Microphone Not Working? Three Quick Fixes
Your iPhone microphone isn't working. In the middle of an important call. Or during that video conference. Panic. You try everything: from cleaning the microphone opening to resetting your settings. Yet, the problem persists. But here's what most people don't know: in 8 out of 10 cases, the culprit isn't your microphone itself . It's often the simplest things we overlook—from a forgotten accessory blocking the opening to accidentally disabled app permissions. Even your AirPods could be the culprit, automatically taking over. This guide shows you how to get your microphone working again with three quick checks, without expensive repairs.
Useful links
- Refurbished iPhone collection - consider a refurbished device if repairs become too expensive
- iPhone screen protectors - protect your device without blocking the microphone
- iPad collection - alternative for video calls when problems persist
First aid for microphone problems
Before you panic about a faulty microphone, run through these quick checks first. In most cases, the problem isn't with the hardware itself, but with a simple setting or blockage.
Start by checking your Bluetooth connections. Is Bluetooth enabled? Then your device might automatically connect to previously paired devices like AirPods or your car. These devices will take over the microphone without you even realizing it. Turn Bluetooth off and test again.
Next, check that your case isn't blocking the microphone openings. Thick protective cases, in particular, can cover the small holes. Remove the case and try making a call again. If it works now, you know where the problem lies.
The three microphones on your iPhone
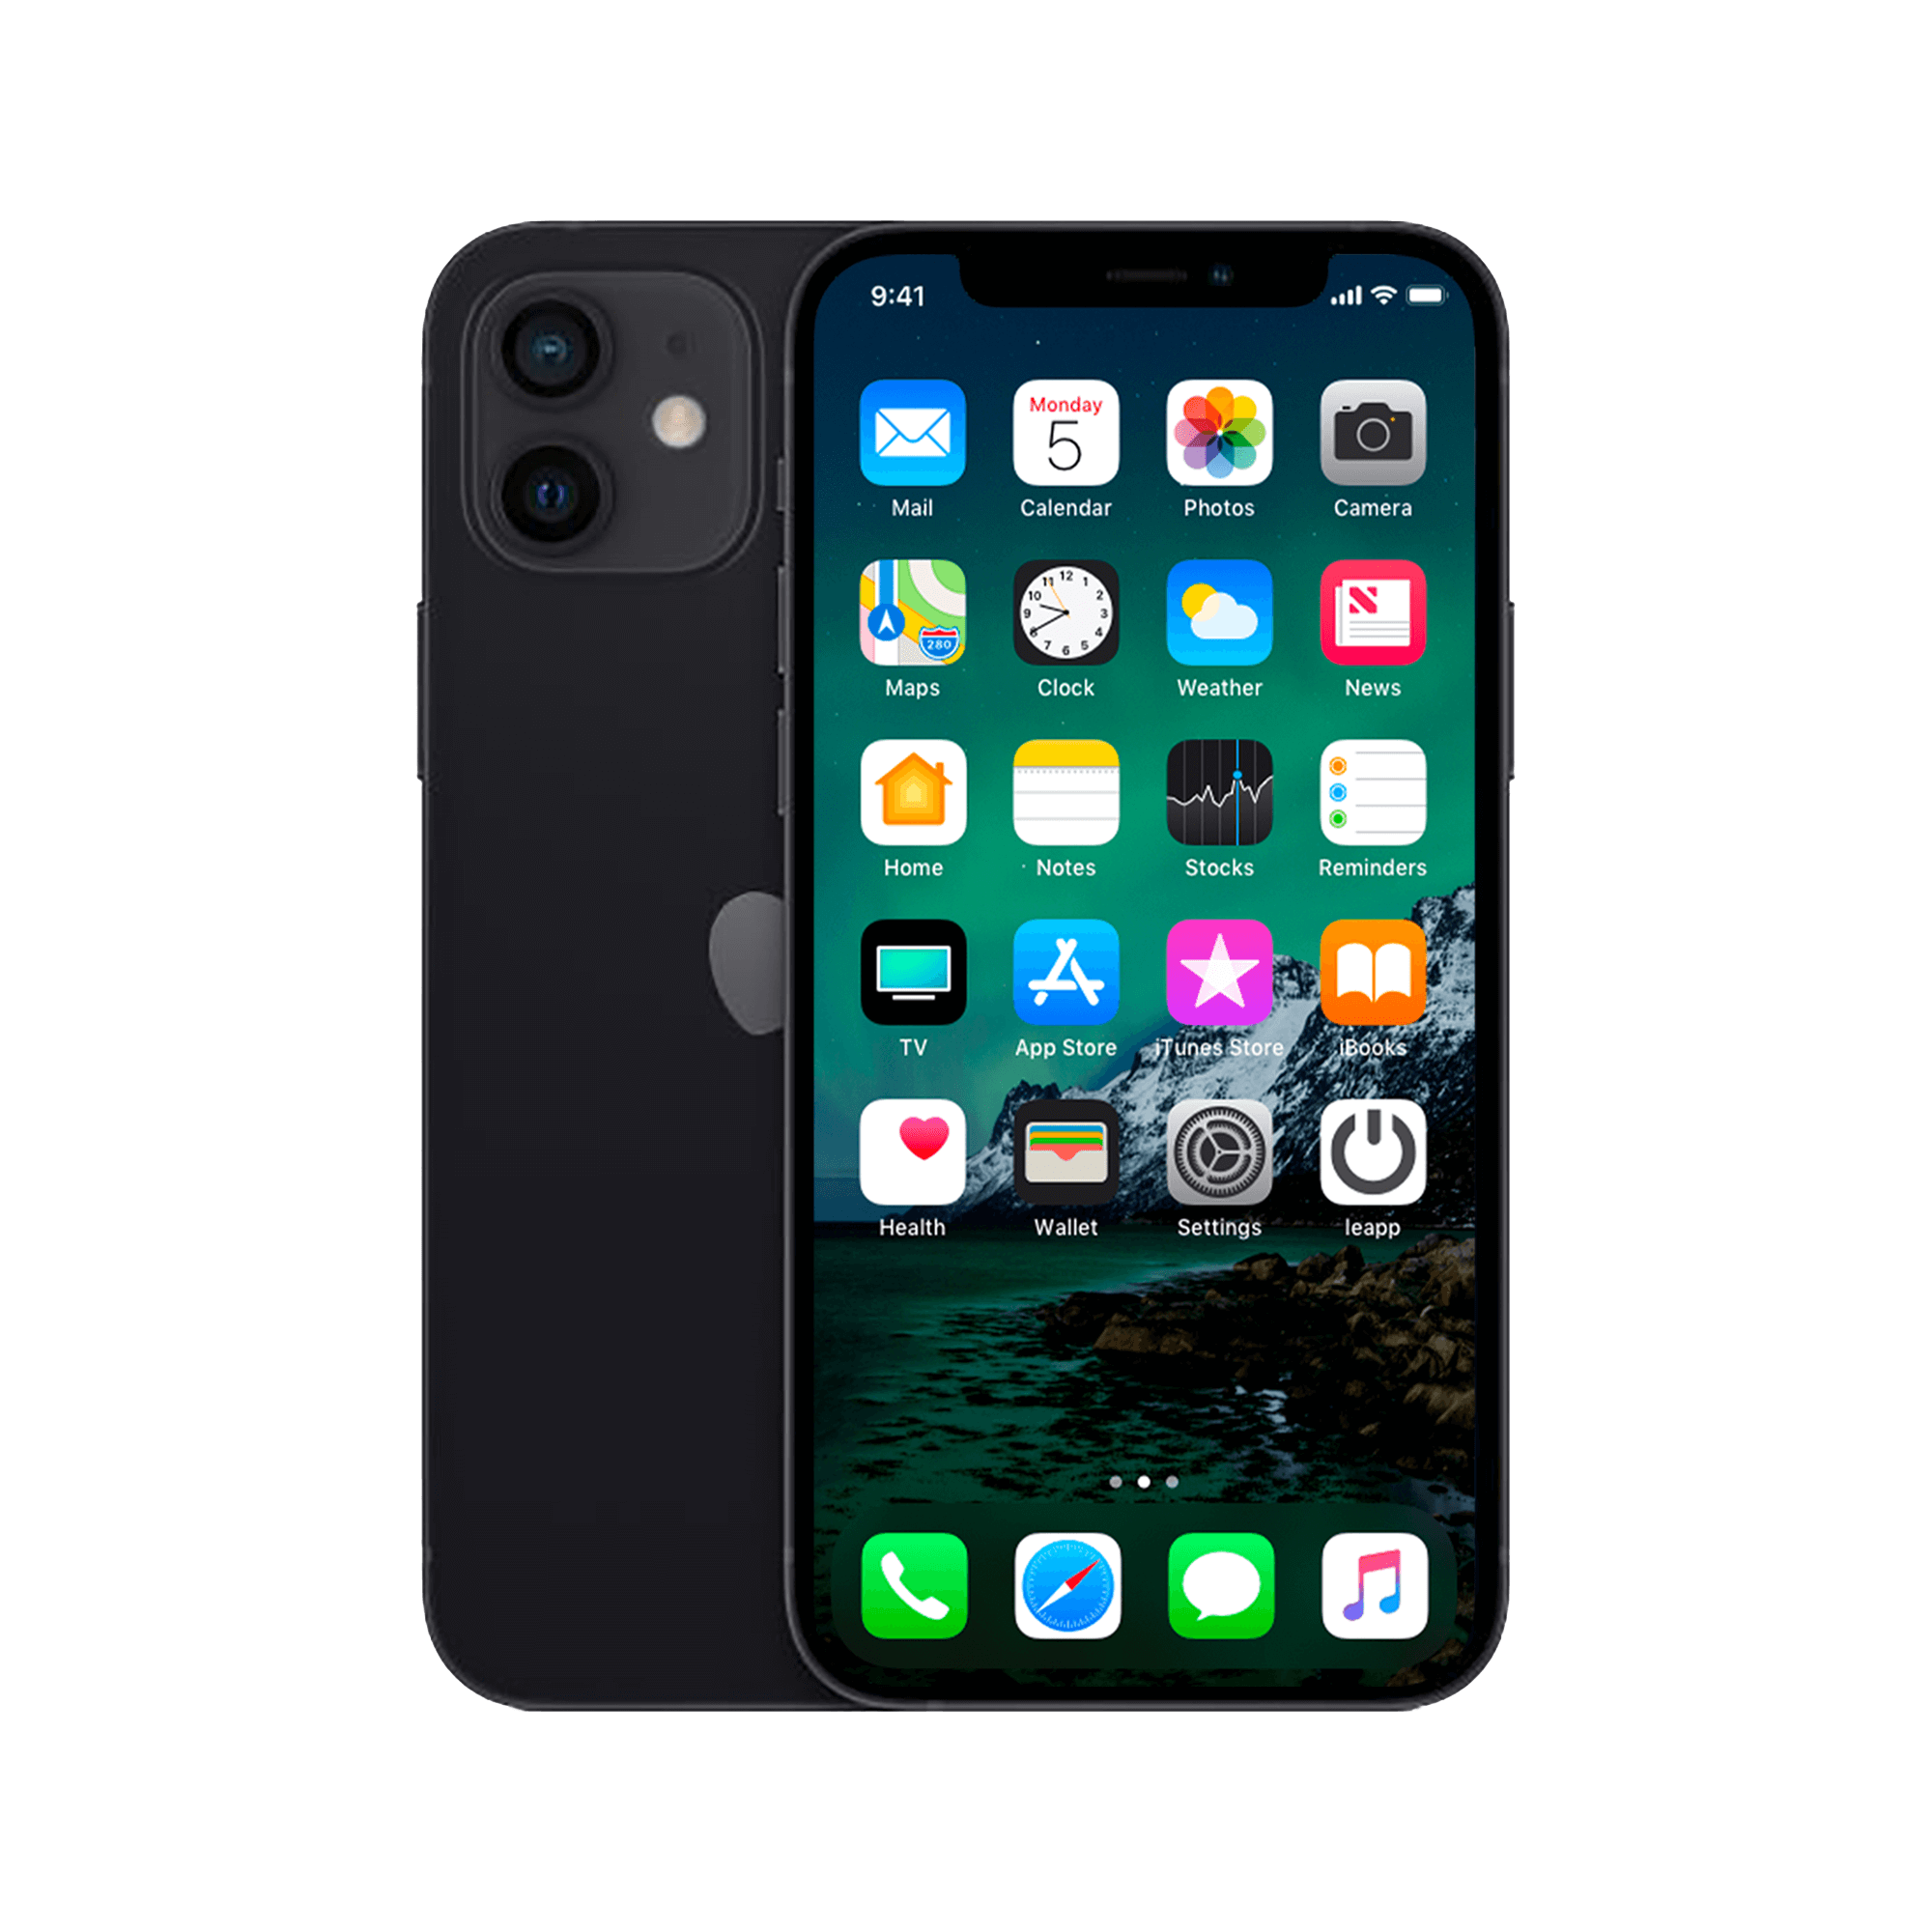
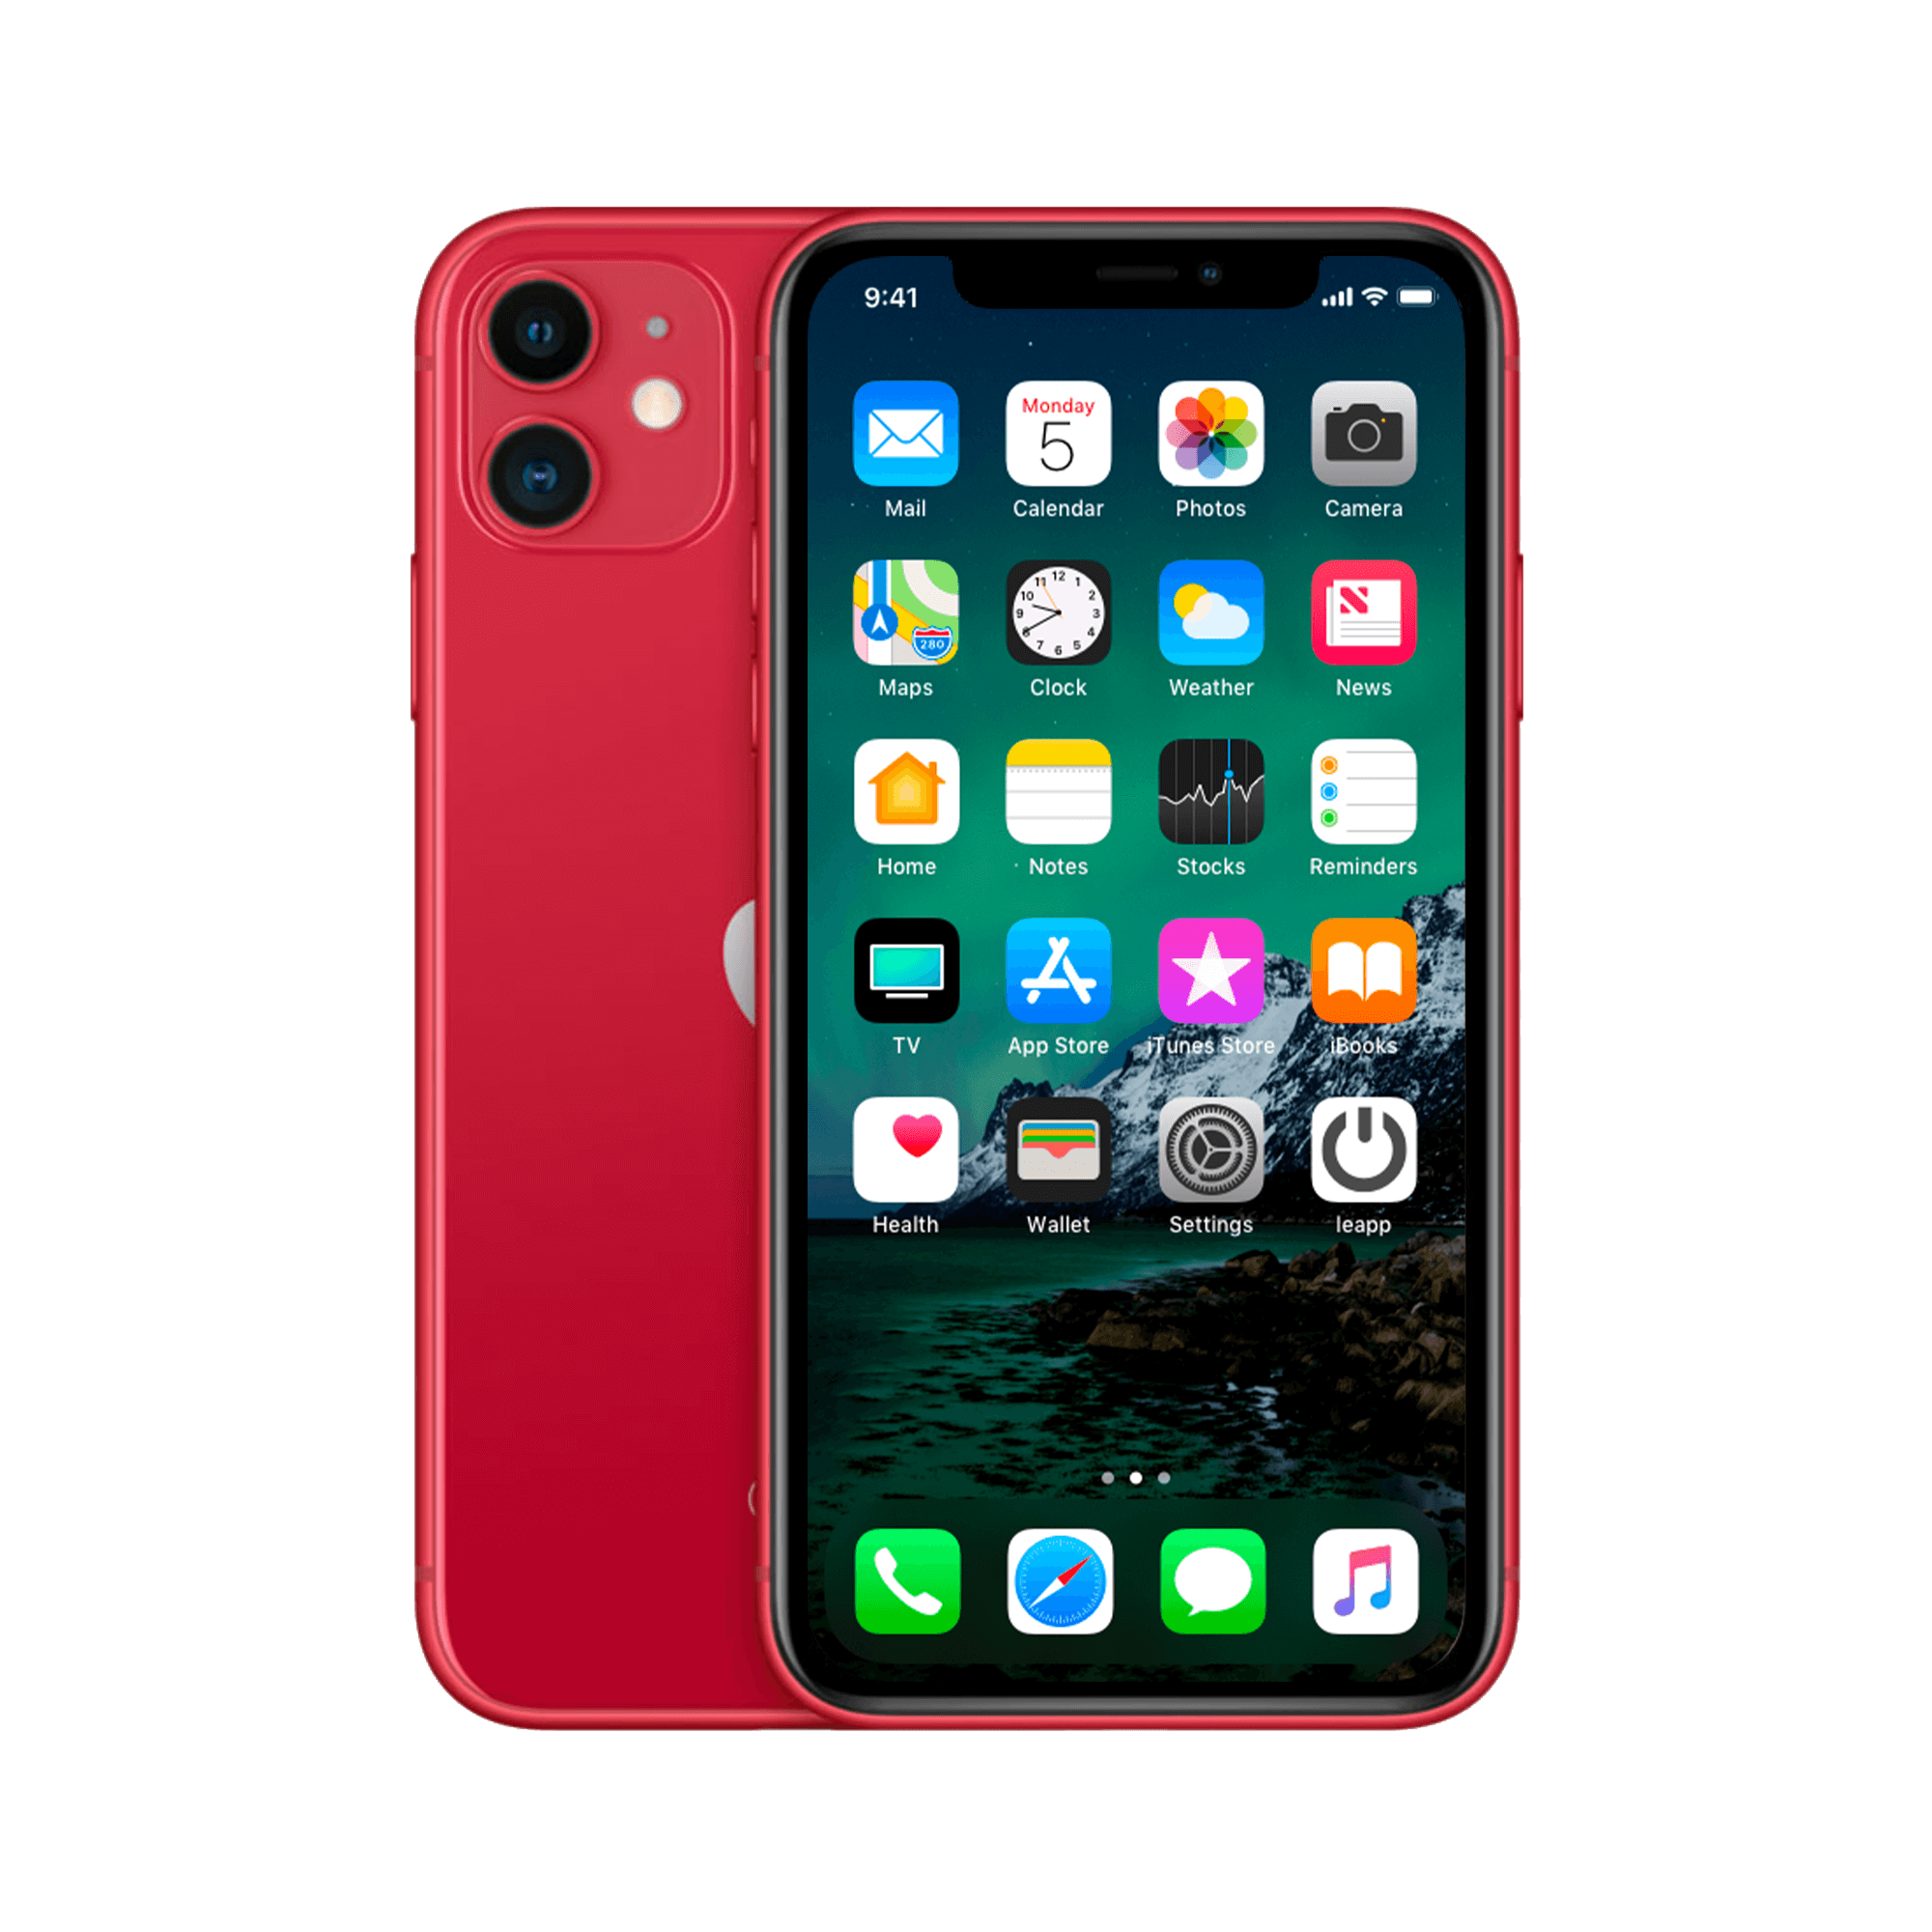
What many people don't know: your iPhone has not one, but three microphones. The bottom one is next to the charging port, the front one near the speaker at the top, and the rear one next to the camera. Each one has its own function:
- Bottom microphone : for normal phone calls and Siri
- Front microphone : for speakerphone and FaceTime
- Rear microphone : for video recording and noise canceling
Therefore, test all three microphones separately. Record a video with the rear camera, make a FaceTime call with the front camera, and record a voice memo. This way, you'll quickly discover which microphone is causing the problem.
Check app permissions
Sometimes the microphone works perfectly, but a specific app doesn't have access. You can fix this by going to Settings > Privacy & Security > Microphone . Here you'll see a list of all the apps that have requested microphone permission.
Check if the switch next to the problematic app is on. Is it off? Turn it on and restart the app. These settings sometimes get messed up, especially after iOS updates.
Note: Some apps only ask for permission the first time you use the microphone. So, open the camera function in WhatsApp or Instagram if you've never sent a voice message there.
Cleaning hardware without damage
Dirt and dust are your microphone's worst enemies. But be careful when cleaning. Never use sharp objects or compressed air – these can cause permanent damage.
Instead, use a soft, dry toothbrush. Gently brush the microphone openings using circular motions. For stubborn dirt, lightly moisten the brush with isopropyl alcohol (at least 70%). Let the device dry thoroughly before using it again.
Also check the Lightning port for lint from your pockets. This can interfere with the connection and indirectly cause microphone problems. A wooden toothpick works well for this—plastic can cause static electricity.
Software solutions that often work
If cleaning doesn't help, try these software fixes:
- Restart your iPhone completely . Press and hold the power button and a volume button simultaneously until the power off menu appears. Slide to power off, wait 30 seconds, and restart. This will reset temporary files that could be causing problems.
- Reset all settings via Settings > General > Transfer or Reset iPhone > Reset > Reset All Settings . This will save your data but restore all system settings to their factory defaults. You will need to reset Wi-Fi passwords and Bluetooth pairings.
- Update to the latest iOS version . Apple regularly fixes bugs in updates. Check Settings > General > Software Update for available updates.
When is replacement necessary?
Sometimes the microphone is actually broken. You can recognize this by:
- Crackling or distorted sound in all apps
- No sound at all, even after all the steps above
- Water damage (check the moisture indicator in the SIM card tray)
A microphone repair usually costs between €80 and €150. This is often not worthwhile for older models. A refurbished device may be more cost-effective. These have been thoroughly tested, including all microphones, and come with a warranty.
Prevention tips for the future
Prevent future problems with these tips:
- Clean the microphone openings monthly
- Use a case that leaves the microphones exposed
- Avoid moisture and dust as much as possible
- Update iOS regularly for the latest bug fixes
- Test the microphones after every fall or impact
With this knowledge, you can solve most microphone problems yourself. No expensive repairs, no hassle with customer service. Simply get your device fully functional again in minutes.
Conclusion: usually a simple solution
A non-working microphone seems like a big problem, but you can usually fix it within five minutes. First, check your Bluetooth connections and app permissions, clean the microphone openings with a soft brush, and test all three microphones separately. In eight out of ten cases, your microphone will work perfectly again . If the problem persists, a software reset is often the solution. Only in the case of serious hardware damage should you consider repair – for older devices, a refurbished iPhone is often the best option. With regular maintenance and the right accessories, you can prevent most problems anyway.


