Taking screenshots on your iPad: more than just pressing a button
Taking screenshots on your iPad. We all do it. For recipes, tickets, funny messages, or important information we need later. But then? Then they disappear into a chaotic photo library among thousands of vacation snaps. Or you accidentally share sensitive information.
Yet the real problem isn't taking that screenshot. It's what happens next: editing, organizing, and securely sharing it. Because sending an unedited screenshot with your bank details on it via WhatsApp? You don't want that. A refurbished iPad can take screenshots perfectly, but without the right approach, you're left with a digital mess. Time to approach things differently.
Useful links
- iPad Pro refurbished collection - for the latest screenshot options
- iPad accessories - styluses and keyboards for better editing
- Complete iPad collection - find the model that suits you
The Basics: How to Take a Screenshot on Different iPad Models
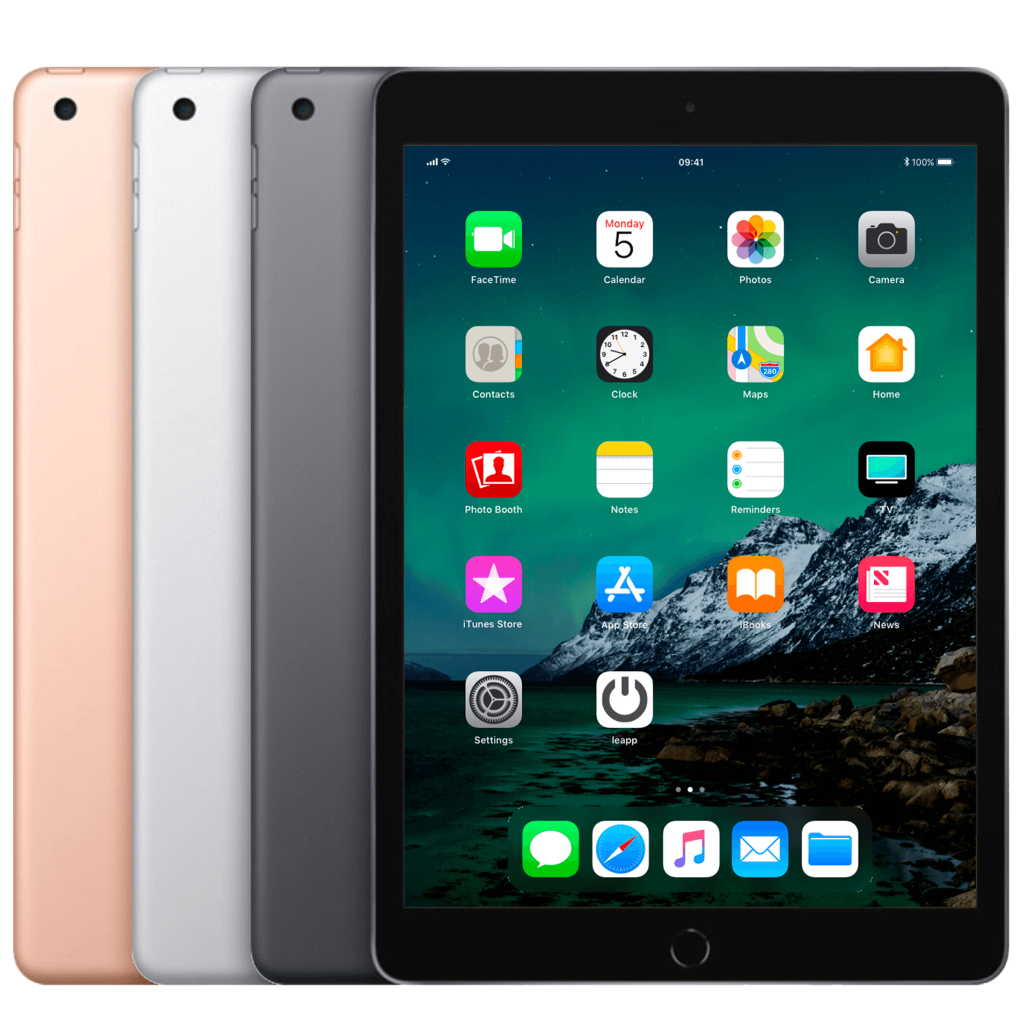
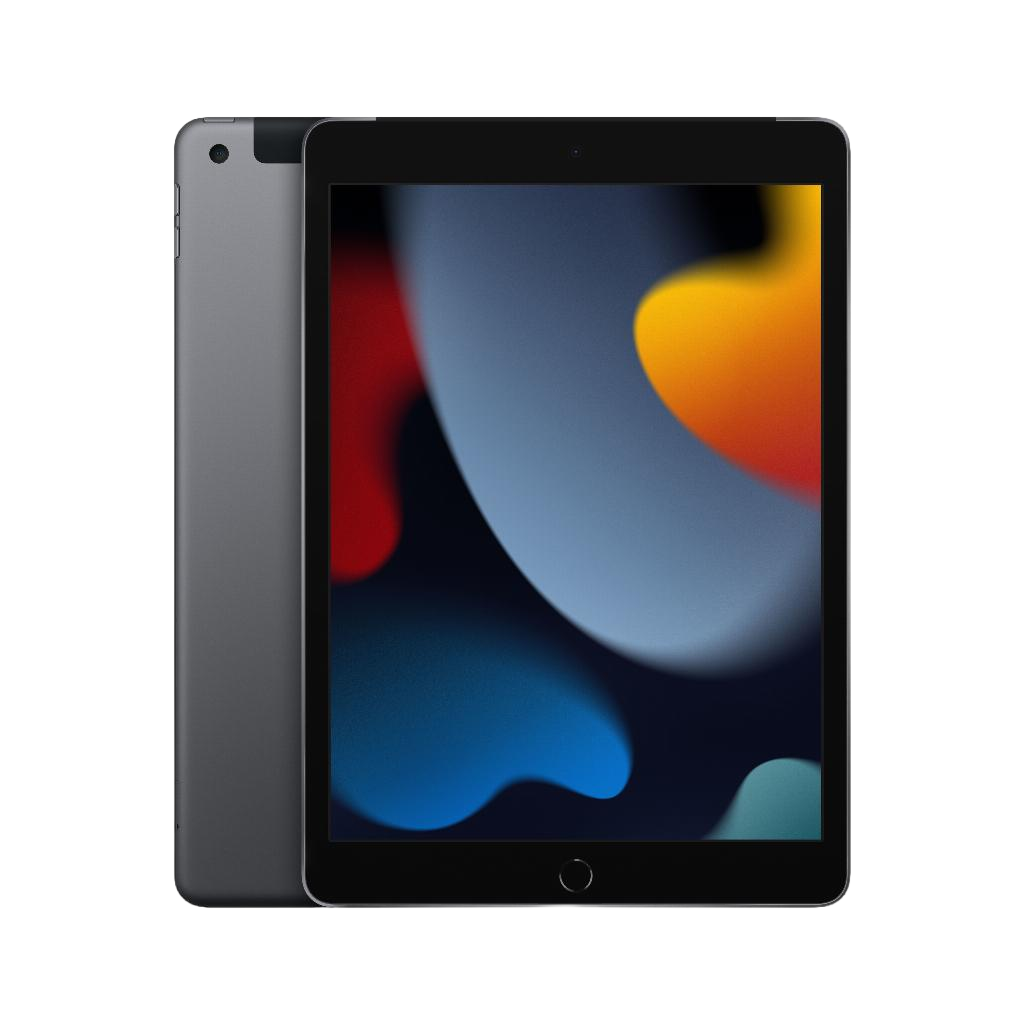
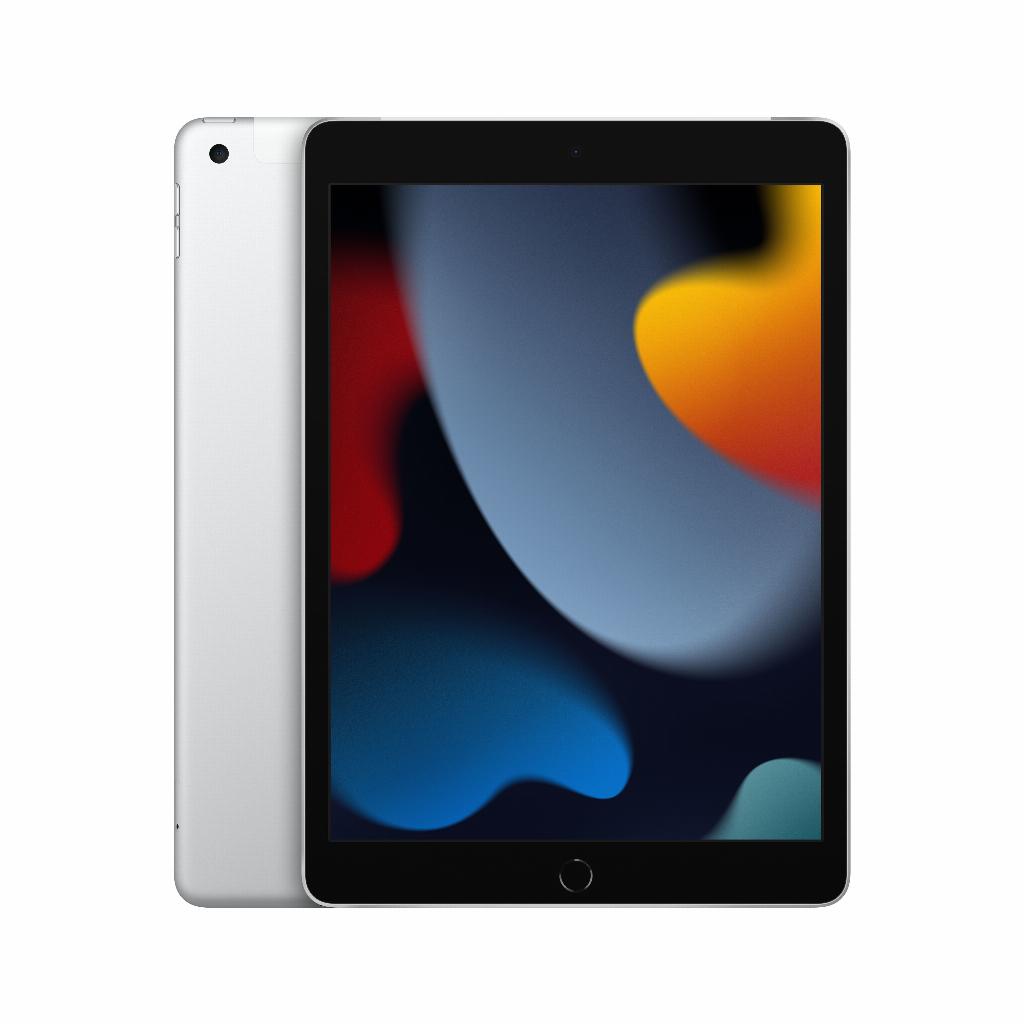
Taking a screenshot varies by iPad model. On older models with a home button, press the power button on top and the home button simultaneously. The device will make a clicking sound and the screen will briefly flash white. On newer models without a home button, such as the iPad Pro and iPad Air from 2018 onwards, use the power button along with the volume up button.
Immediately after capturing, a thumbnail appears in the bottom left corner. Tap it to edit it immediately, or swipe it away to find it later in your photo library. This instant editing option saves you time and prevents screenshots containing sensitive information from ending up in your photo library unedited.
Work smarter with Apple Pencil
Do you own an Apple Pencil? Then you have access to a handy shortcut. Swipe from the bottom left or right corner of the screen to the center with your stylus. This immediately activates the screenshot function. The advantage: you can take notes right away without having to go into editing mode first.
This method works perfectly for students who want to mark up lecture notes, professionals who provide feedback on documents, or creatives who want to quickly capture ideas. The precision of the Apple Pencil allows you to highlight small details that are difficult to pinpoint with your finger.
Capture full pages
Since iPadOS 13, you can capture entire webpages or documents in a single screenshot. After taking a regular screenshot, tap the thumbnail and select "Full Page" at the top. This works in Safari, Mail, and several other apps. The result is saved as a PDF in the Files app, not in Photos.
Edit without additional apps
iPadOS's built-in editing tools are surprisingly comprehensive. You can access them by tapping a screenshot and selecting "Edit." Besides standard features like cropping and rotating, you can:
- Add text with different fonts and colors
- Draw arrows, circles and rectangles to emphasize elements
- Using a magnifying glass to highlight details
- Sign contracts or forms
- Make sensitive information unreadable with the marker in black
Pro tip: Hold down the color selector to select exact colors from your screenshot. This is handy when you want to match annotations to the design of a website or app.
Organization: prevent digital chaos
Screenshots are typically placed in a separate album in the Photos app. But without further organization, even this album quickly becomes a grab bag. Therefore, create themed albums. For example, "Work Projects," "Recipes," or "Important Documents."
Use search intelligently. iPadOS recognizes text in screenshots, so search for keywords found in the image. For example, type "invoice" to find all screenshots of invoices. This feature works best on a newer iPad with sufficient processing power.
iCloud Sync: Pros and Cons
With iCloud syncing, your screenshots are automatically saved to all your Apple devices. Convenient, but be aware: screenshots quickly take up storage space. A screenshot from an iPad Pro can be up to 10 MB. With heavy use, you'll fill your free 5 GB of iCloud storage within a few weeks.
Therefore, consider cleaning up regularly. Delete screenshots you no longer need, especially temporary information like directions or temporary passwords. If necessary, disable syncing for screenshots via Settings > Photos > iCloud Photos > Options.
Secure sharing: prevent privacy leaks
Screenshots often contain more information than you think. A screenshot of a chat conversation might show phone numbers, times, or locations. Always check exactly what's visible before sharing. Use the cropping function to remove unnecessary parts.
For added security, you can use the "Hide" feature. Select sensitive screenshots, tap the share menu, and choose "Hide." These will disappear from your main library to a hidden album, which you can protect with Face ID or Touch ID.
Practical applications in daily use
Screenshots are more than just a technical support tool. Use them for:
- Saving temporary discount codes while shopping online
- Recording your progress in games or fitness apps
- Creating instructions for less tech-savvy family members
- Documenting bugs or issues for developers
- Creating a visual diary of interesting content
A refurbished iPad of the latest generation offers the same screenshot capabilities as a brand new one. The difference is mainly in the processing speed when editing large screenshots or exporting to different formats. In everyday use, you won't notice much of a difference.
Advanced tips for power users
Want to get the most out of the screenshot feature? Then combine shortcuts with screenshots. For example, create a shortcut that automatically takes a screenshot, resizes it for web use, and uploads it directly to your favorite cloud service.
AssistiveTouch offers an alternative method for people who have difficulty using the physical buttons. Enable it in Settings > Accessibility > Touch > AssistiveTouch. You'll get a floating button that lets you take screenshots with a single tap, among other things.
For business use, it's wise to use a naming convention. Use the Files app to immediately give screenshots a logical name, for example, "Project_X_version2_feedback." This makes finding them later much easier than working with the standard IMG_xxxx numbering.
Managing Screenshots: From Chaos to Control
Taking screenshots on your iPad is simple, but the real work begins afterward. Whether you're working with a brand-new iPad Pro or a refurbished model , the possibilities are the same. You can make a difference by being smart about organization, consistently hiding sensitive information, and only sharing what's truly necessary.
With the right approach, you can transform that chaotic collection of screenshots into a usable archive. From temporary notes to important documents—every screenshot has its place. Now that you know how it works, it's time to clean up that digital clutter.


